Imagine that you walk into an über chic designer shop and see this:
...reluctantly you go close and take a peek at the price tag which says $395.
See here If you were like me you'd politely excuse your way out of the boutique..run back home..pull that old bed sheet out your mother had given you and...tear it apart (no not in frustration )
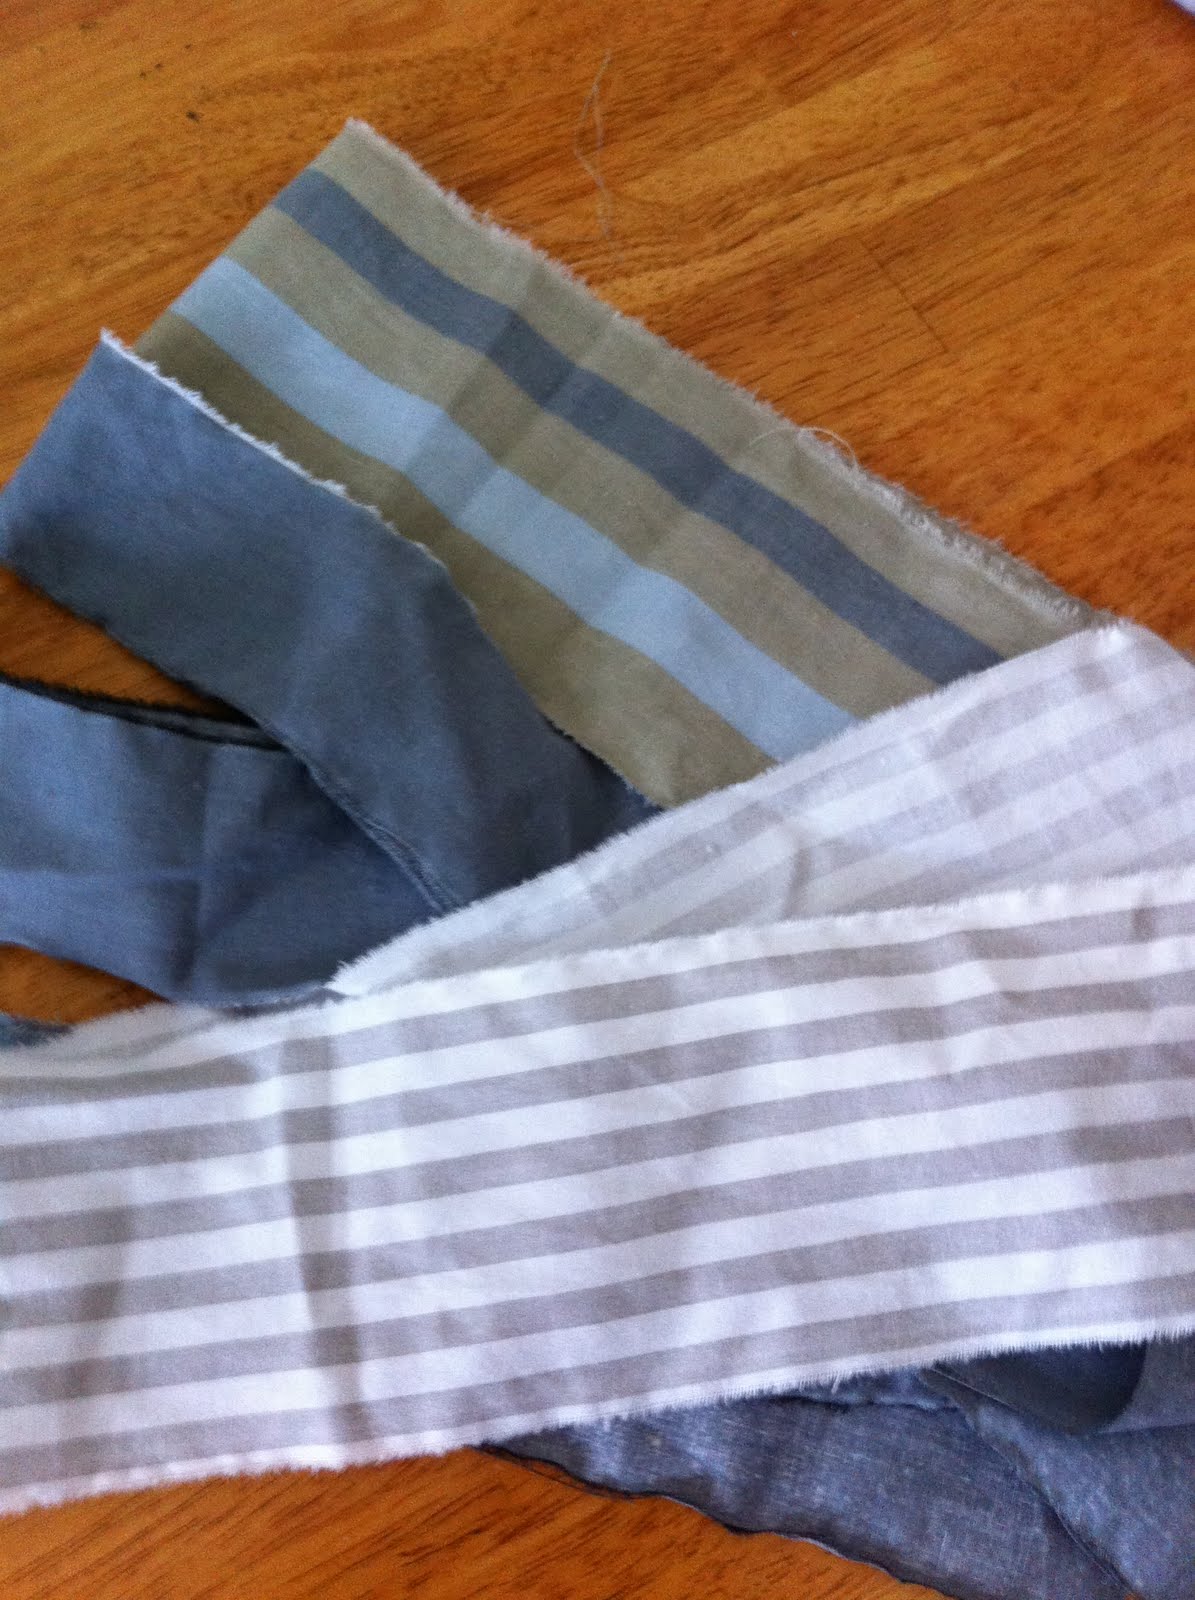
Ok..cut..enough with the dramatics..this was my first try at fabric rosettes that I learned to make just yesterday. I love the combination of grey, blue and mocha. Had this cotton bed sheet that my mother had given me. I ripped just the stripey border off it to accent my dark grey sofa in the living room.
- I cut about 1 yard long strips..some were shorter doesn't have to be exact.
2. Ideally you should use felt for the base of the rosettes but I had this synthetic felt-like fabric on hand so i used that and it worked.
3. Take your strip of fabric and fold it likewise to make a pointy corner.
4. Put a dot of hot glue on your base fabric/felt and stick this folded corner to it.
5. Now start twisting and rolling the fabric in a round. Work around with the fabric and keep on making twists and turns, adding a dab of glue every now and then to secure the shape.
You will get a shape like this. Trim the felt off.
I used an old duvet cover to make my cushion. The plus point here was that I already had 2 seams stitched when I cut out the cover to make my cushion..and it already had the placket and buttons!
After preparing the cushion I arranged the rosettes on it and started tacking them on with a needle and thread..just small stitches to secure (my boy was already interested in plucking them out).
Since I only secured each flower with a single stitch (I placed my stitch in a way that the next stitch would connect the next flower too) I used fabric glue to stick the edges well. I put some heavy books on top to press them till the glue was set.
The finished look. Now don't scroll up and compare it to the designer version. I know its not the same but still adds the same effect..without killing a rabbit.


Love your version of the rosettes. This is a beautiful pillow. Thanks for the tutorial. I know I'll try this sometime. I keep thinking I want some fabric flower fluff around the house!
ReplyDeleteThanks Ann for your lovely comment :)
ReplyDeleteoh what a gorgeous pillow!! I love your 2 toned flowers!!
ReplyDelete