
Here's the step by step process.
- Trace one arm of the hanger on a folded piece of fabric, leaving about half an inch seam allowance and some wiggle room. (right sides together)
- Cut. Use this as a template to cut another one out in the same way.
- Wrap the wooden hanger with any thick scrap fabric, felt, an old scarf..cut into stips of 1 and a half inch wide. This will give it the padding it needs.
- Now the stitching: Just do a basic stich along the fabric pieces you cut for the arms.
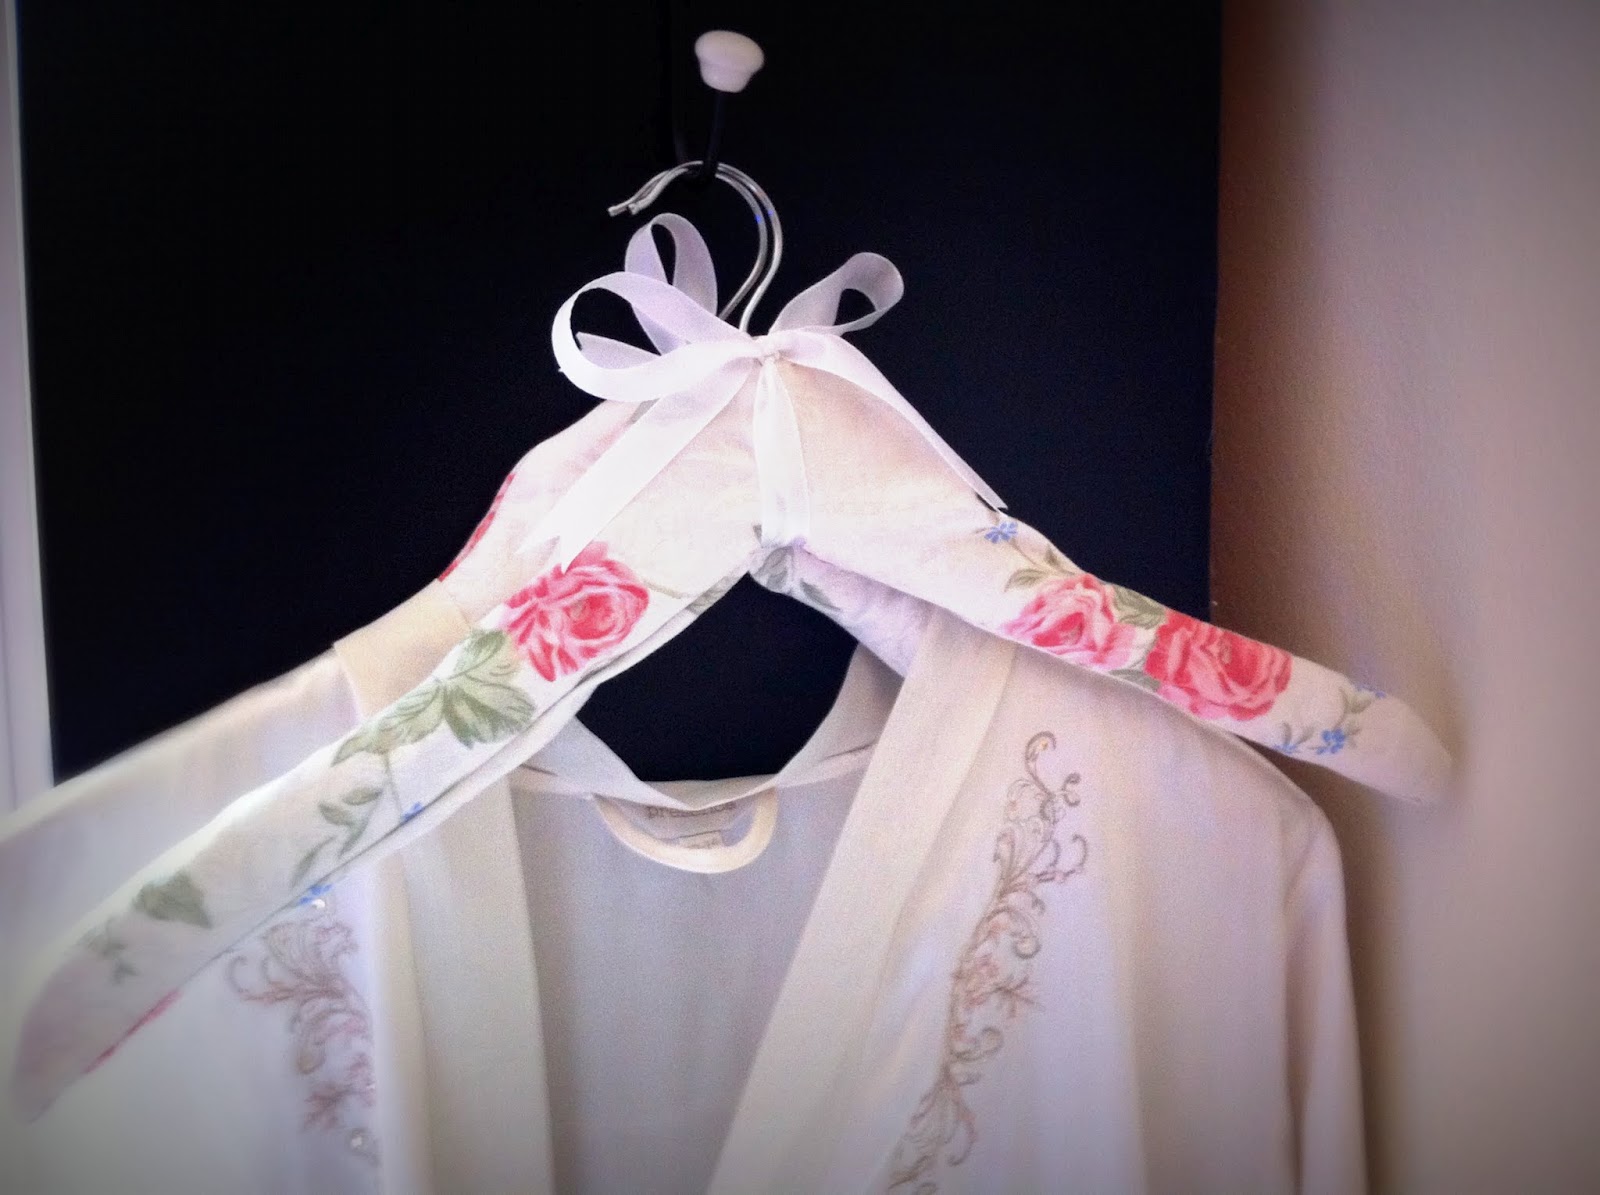
- Invert the two 'tubes' you will now have and glide them onto the arms of your hanger.
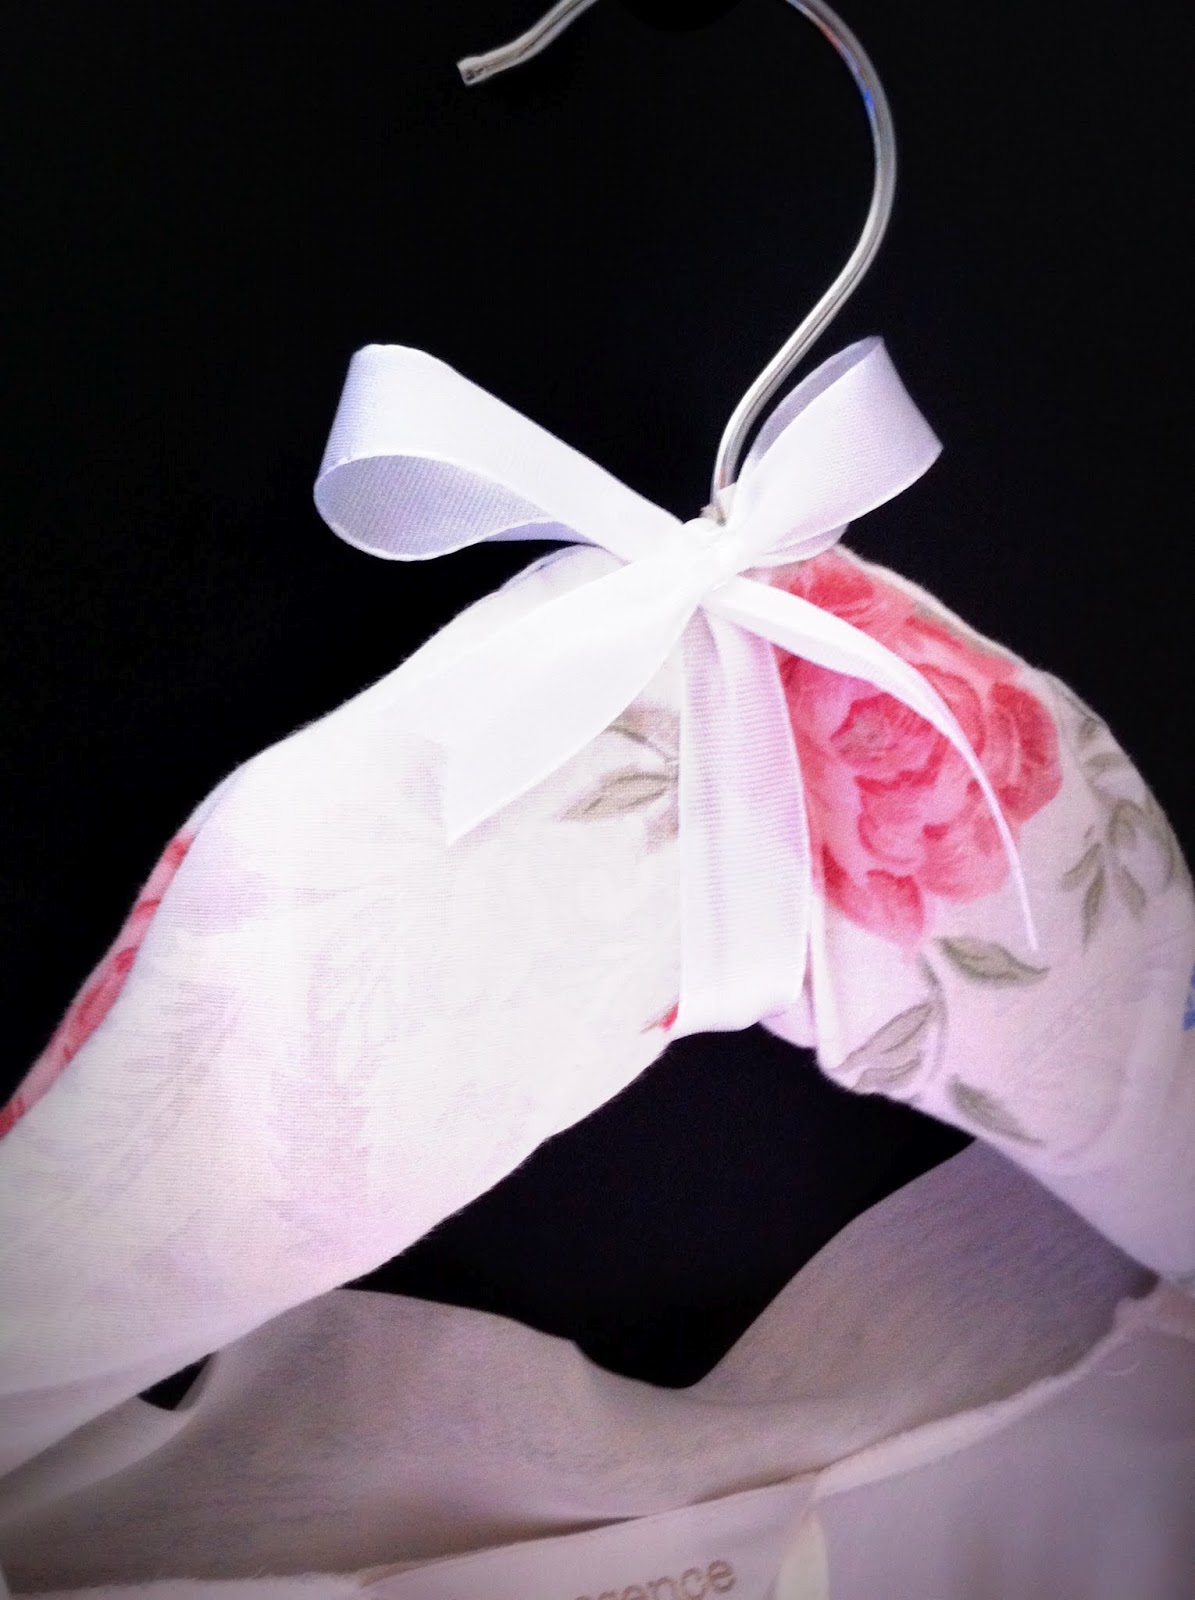
- Do a quick handstich to join the two pieces at the middle...doesn't have to be neat..the ribbon will hide it.
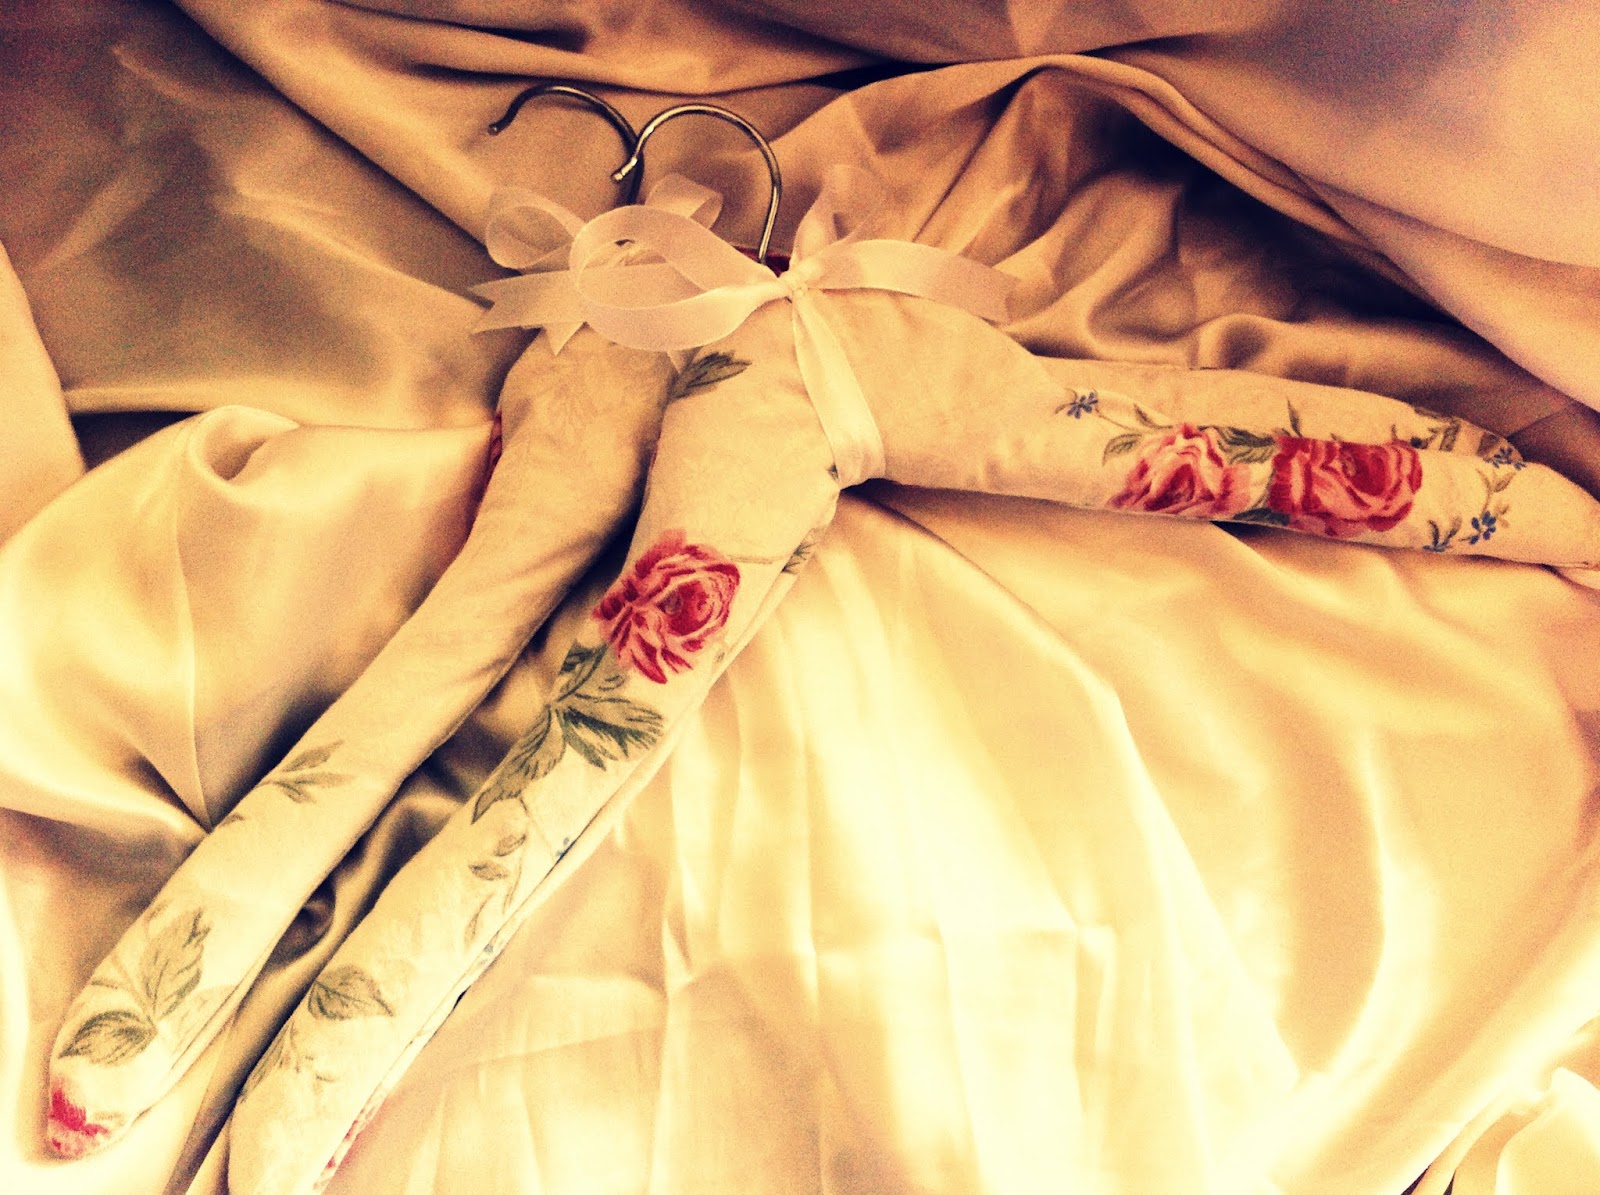
- Tie a bow and present yourself with a new set of hangers that will make any of your old clothes look new! Money back guarantee!
These would make such nice presents for a bride, or a new mom maybe.
No comments:
Post a Comment
Share some Love, Leave a Comment!