
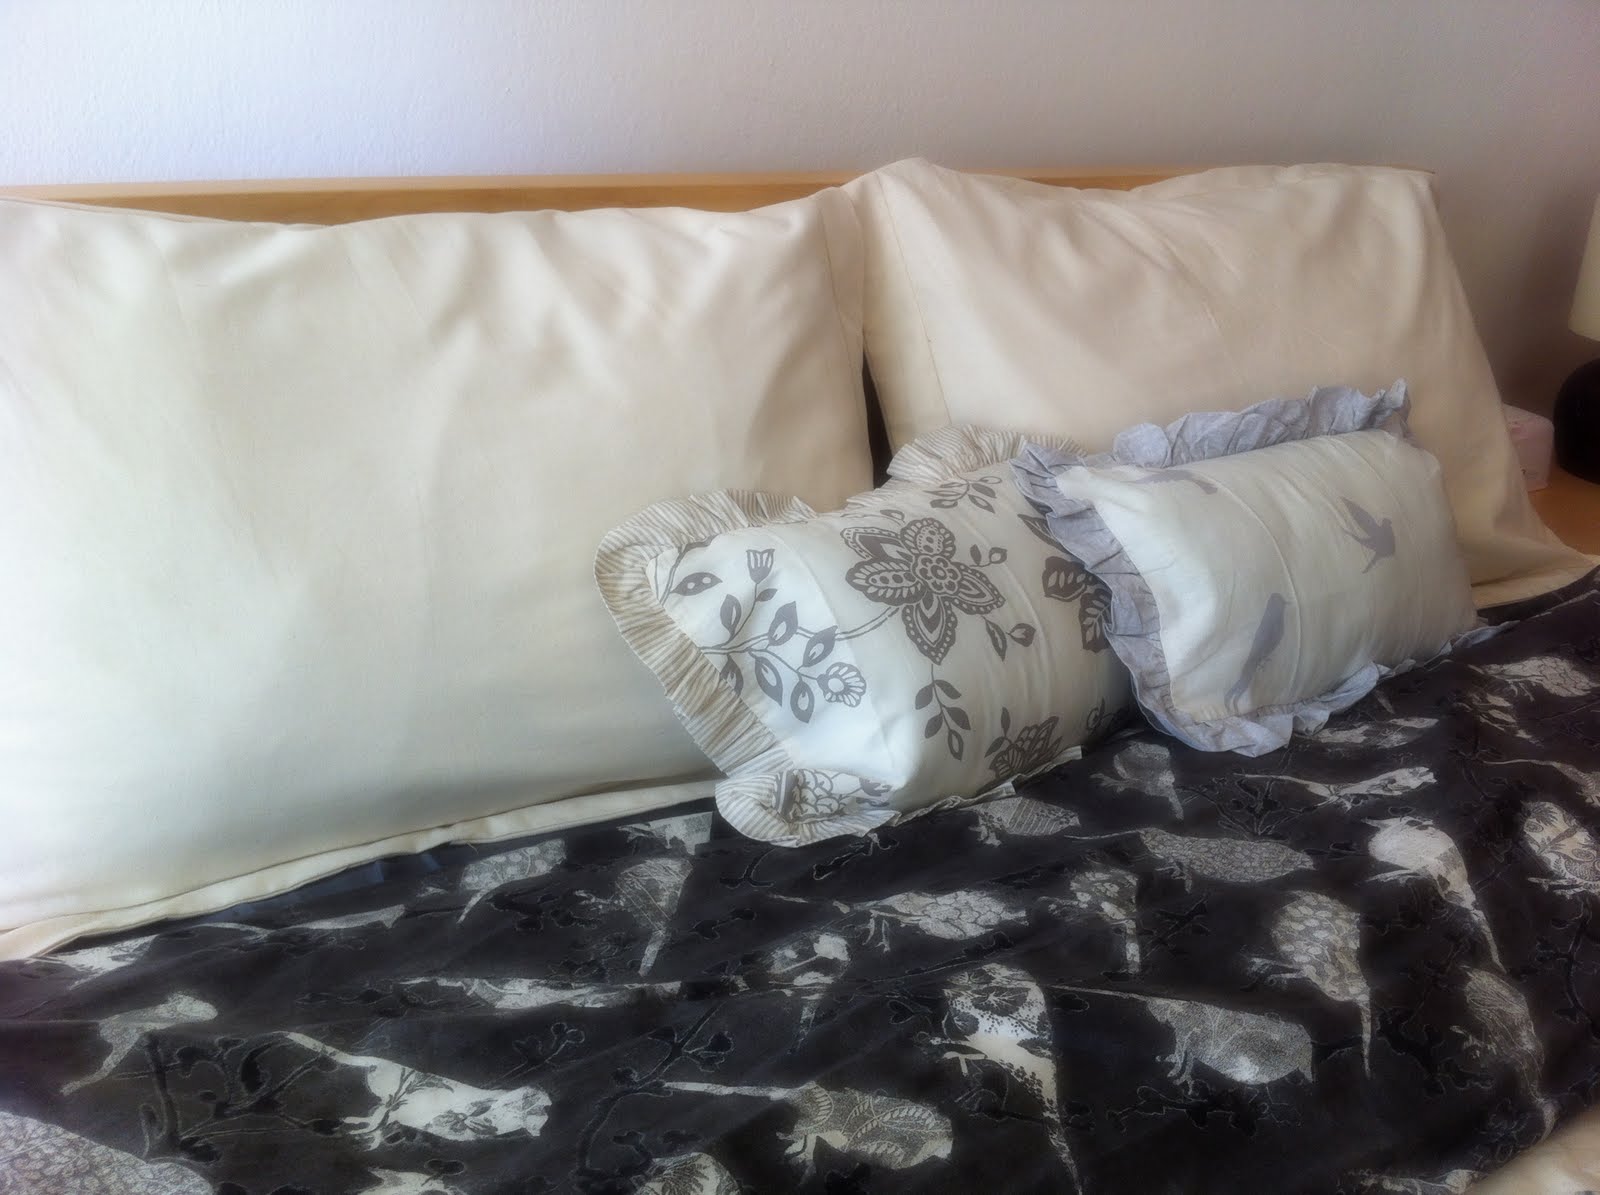
I can't believe I'm doing a tutorial on something I made for the first time myself too. As if I'm an expert :D I had a West Elm quilt cover but no pillows to match. So I got myself plain cotton on half price from Ikea.
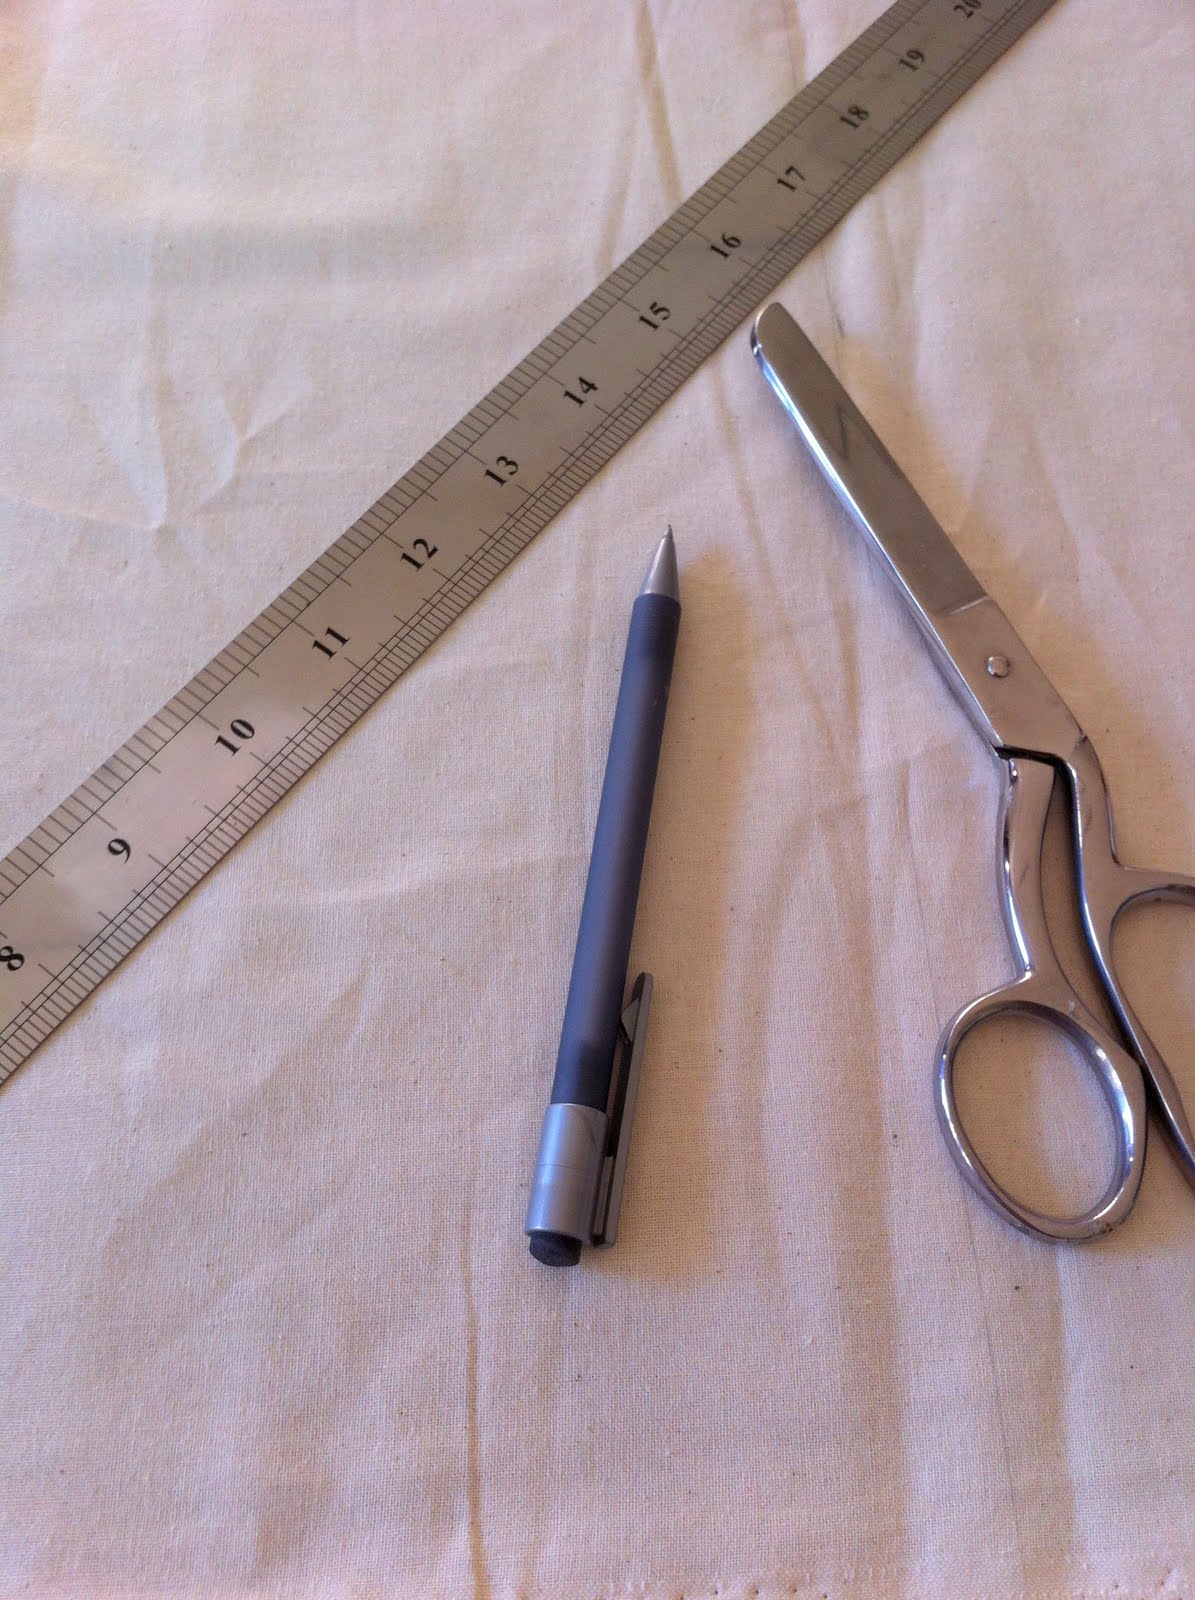
Anyhowzz it was easy..and beginner level but still since I am a sub-beginner when it comes to sewing I had to draw lines with a ruler for the top stitch. Which was really helpful! As you might have seen how I ruined my iPad cover top stitching.
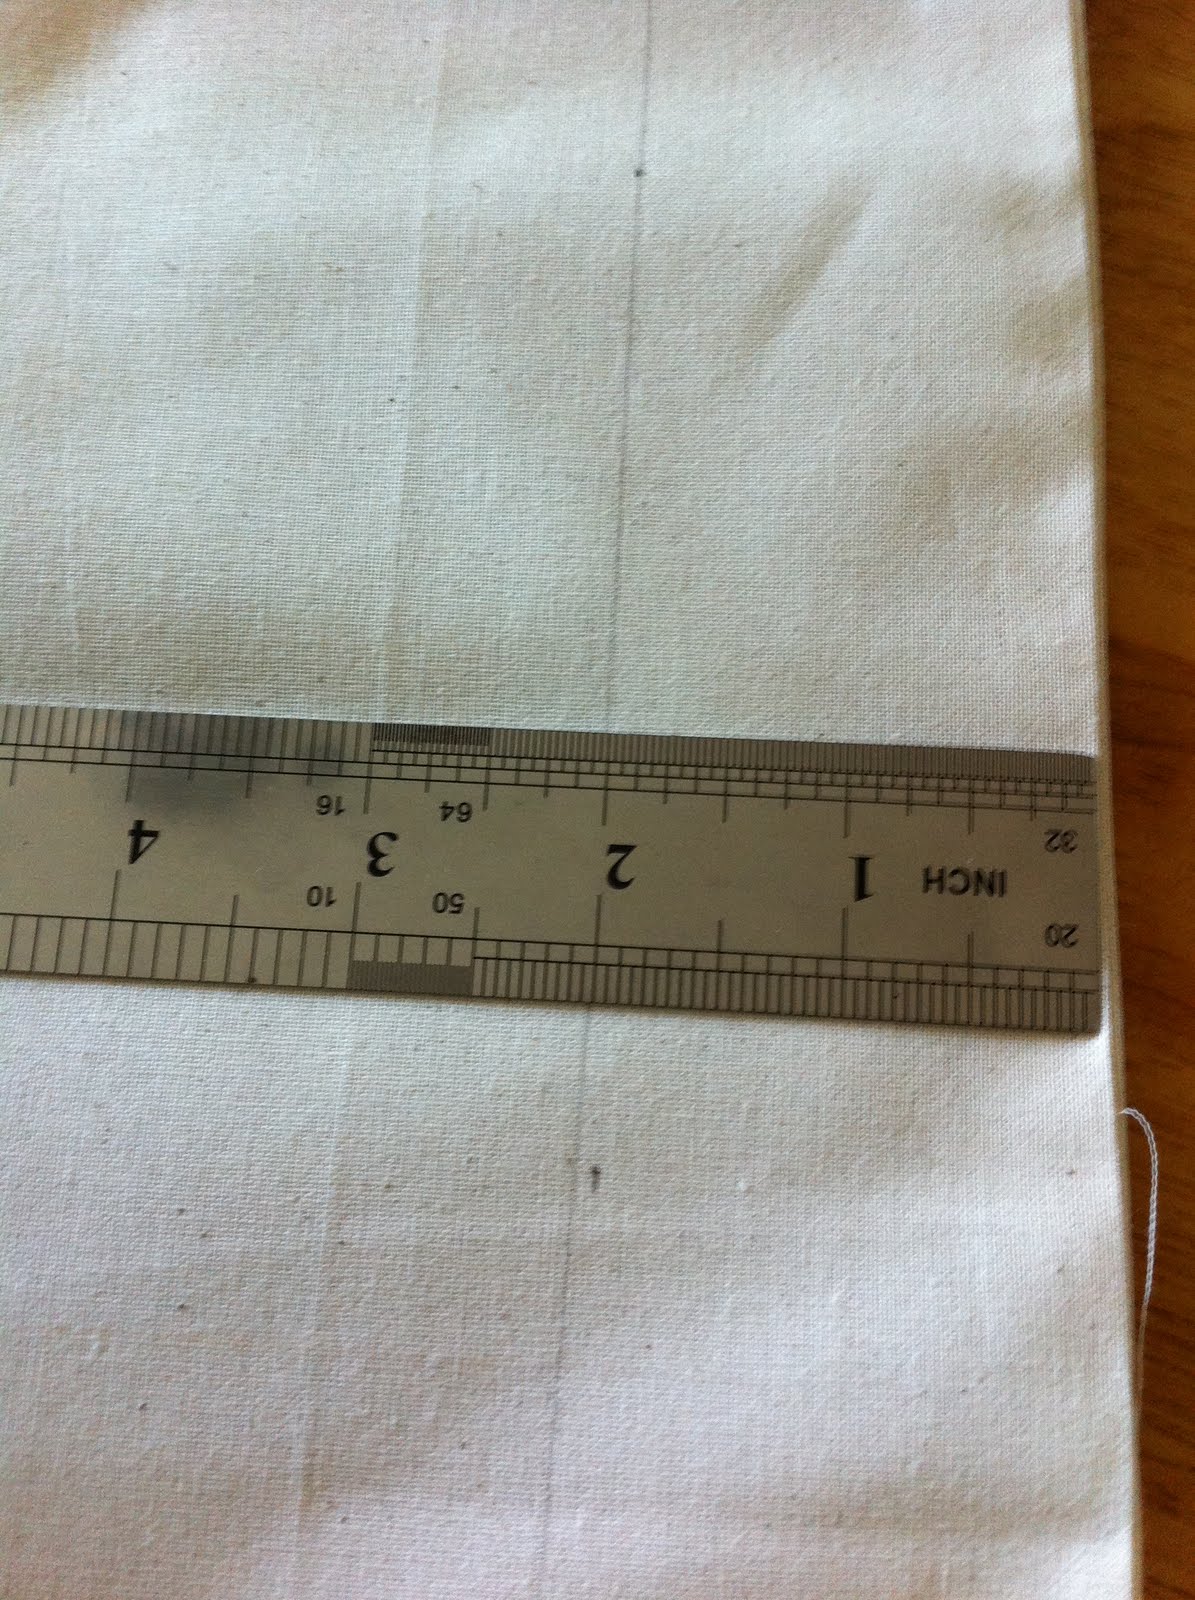
- Measure and Cut. Measure your pillow and add 1/2 an inch all around for the seams. 2 inches for the outer edge of your sham. Cut the top of your pillow sham.
- For the back: Do the same measurements and add an extra 3 inches for the overlap on the opening at the back. Another 1/2 inch for the hemming.
- Now put the front aside. Take the back piece and cut it either across the middle or into two pieces with one being longer than the other. (like I did)
- Hem the cut edges. I only folded and ironed the hem. (fold fabric once and then over itself one more time for the hem)
- Sew these folded edges.

Now the back is ready. Place the front piece right side up and the back piece on top of it right side down. Sew the edges together. Turn it inside out.
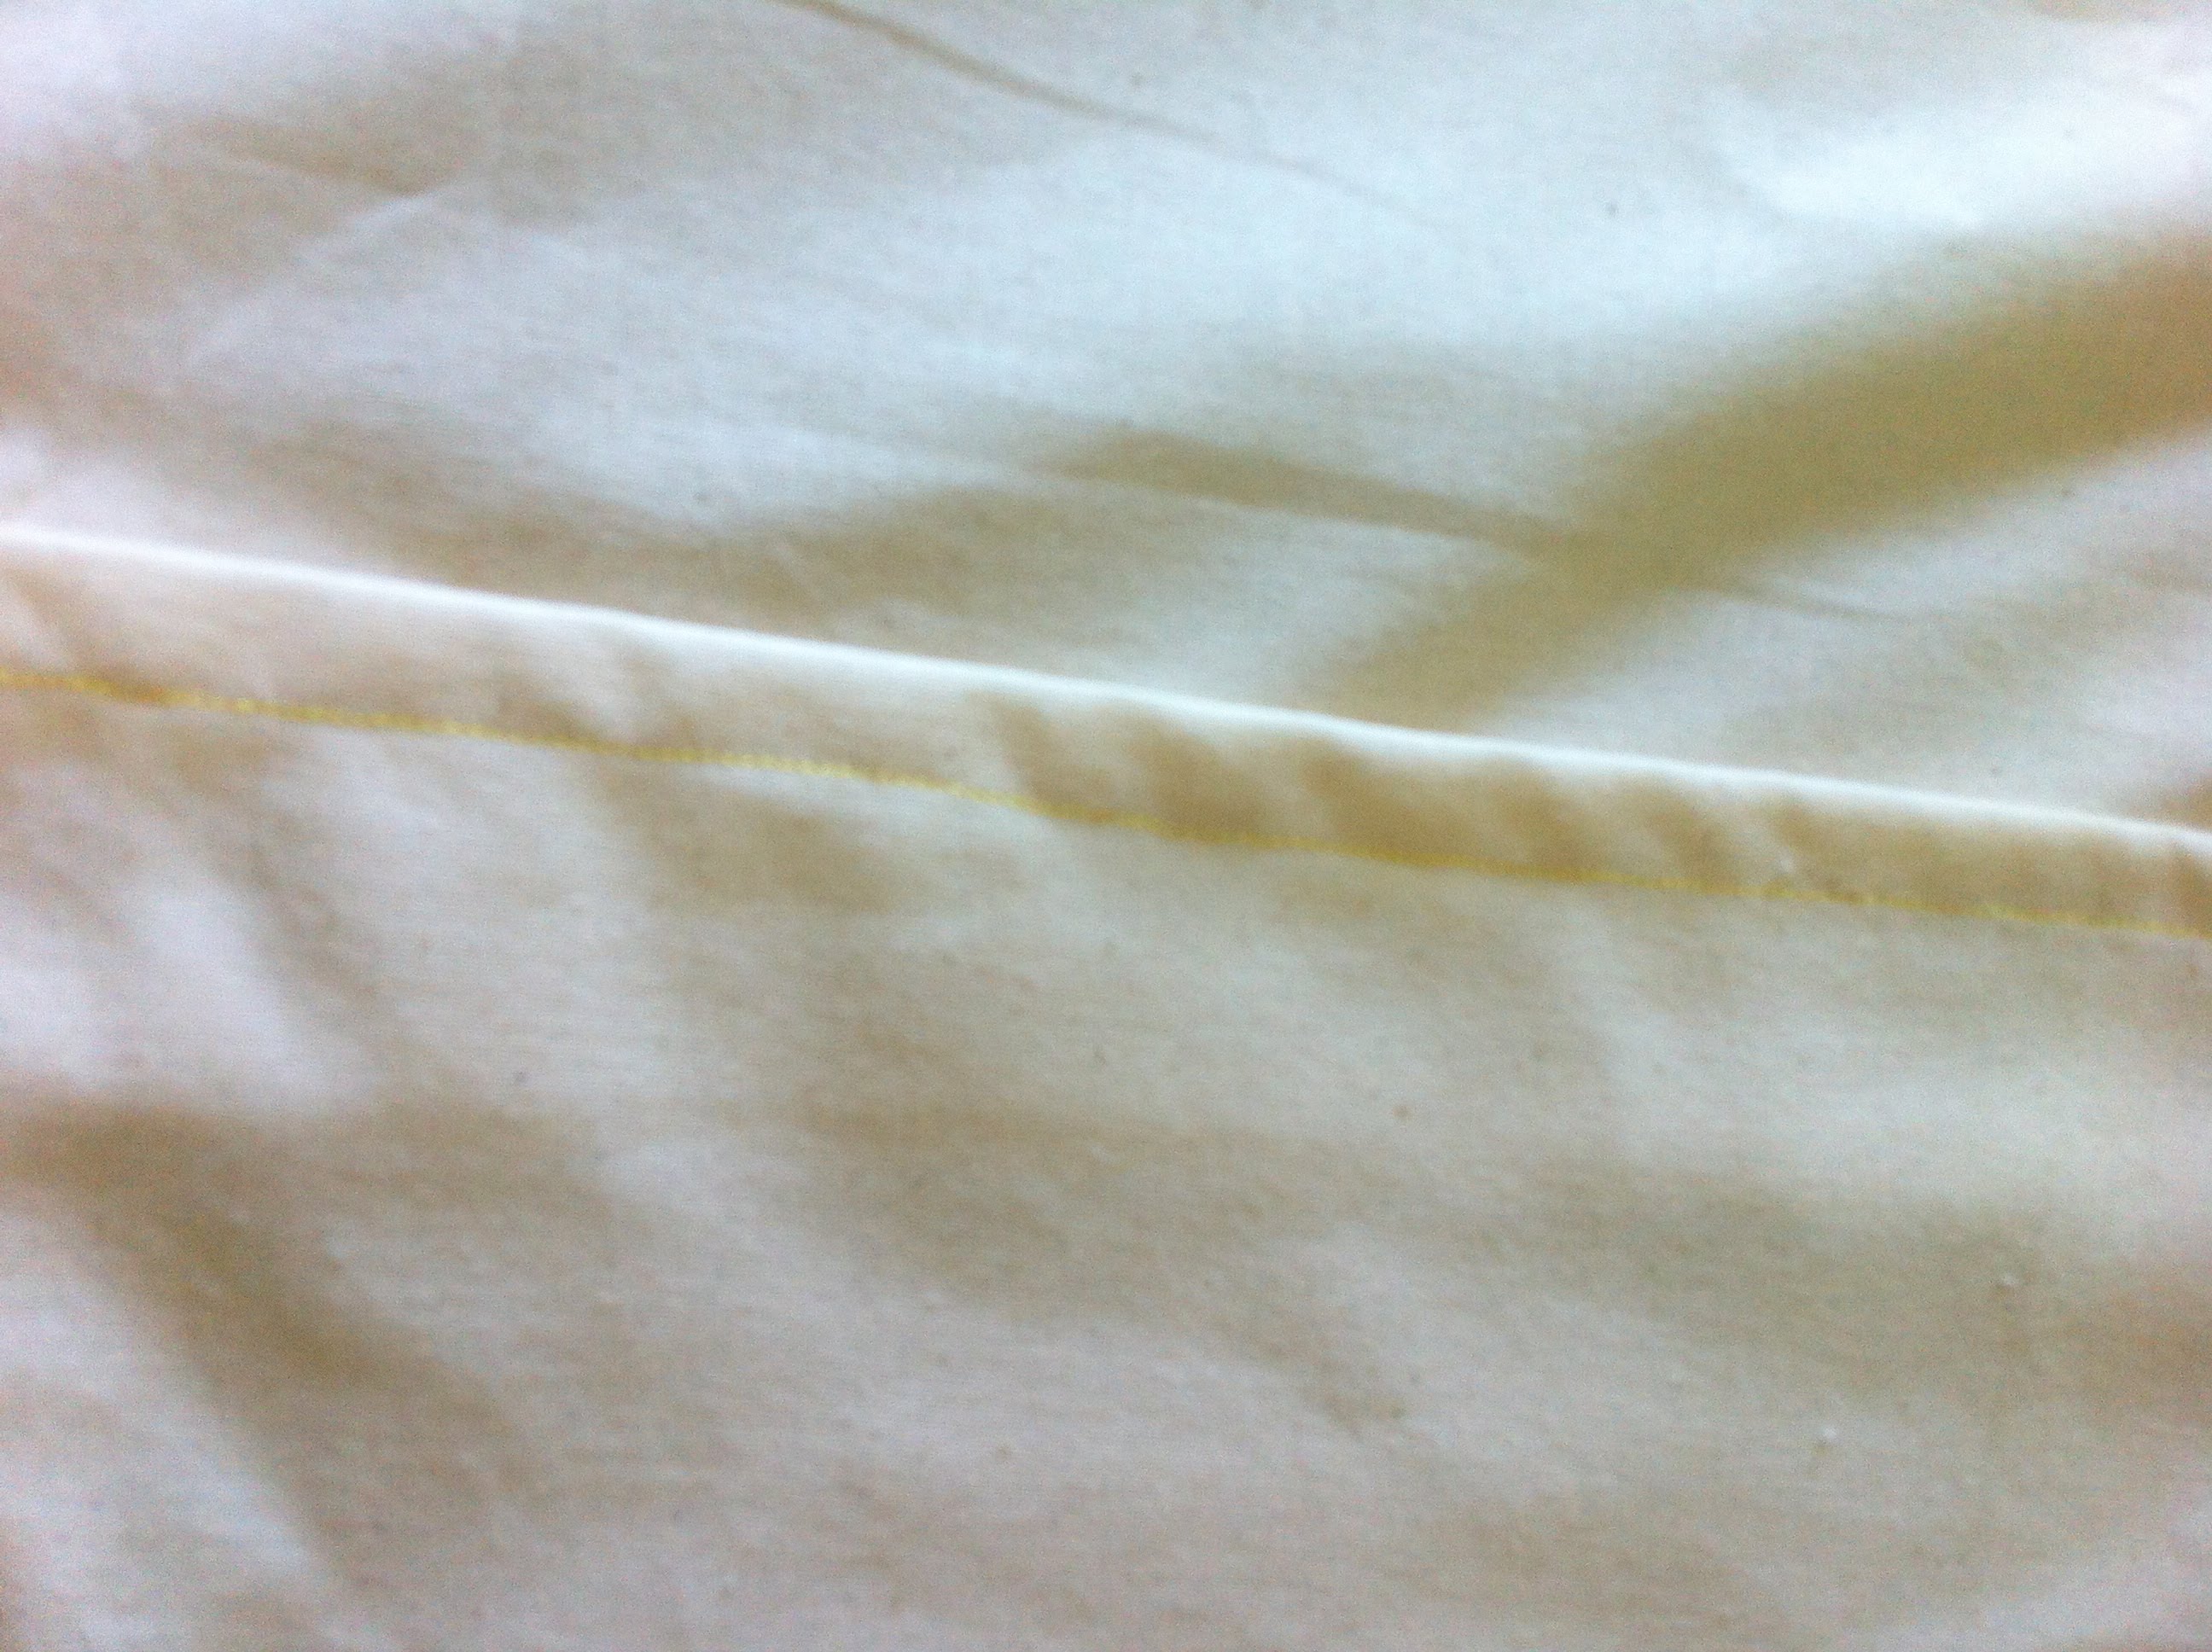
Next, measure 2'' all around the top of your sham. Do a top stitch all over.
All done. I think they have a more sophisticated appeal to them than a normal pillow case.

No comments:
Post a Comment
Share some Love, Leave a Comment!