" How I painted my sideboard with a Kitchen Sponge "
Ahan, you read it right I painted my first ever piece of furniture with a kitchen sponge!
I almost never say that but, I'm proud of myself for stepping up the game here on my blog. I had set myself a goal that I will overcome the fear of painting furniture by giving it a try. With no past experiance with buying supplies and their use I finally gave it a shot. I learned some things on the way but most of all I gained confidence to tackle the paint job better next time.

Here's what I used & spent:

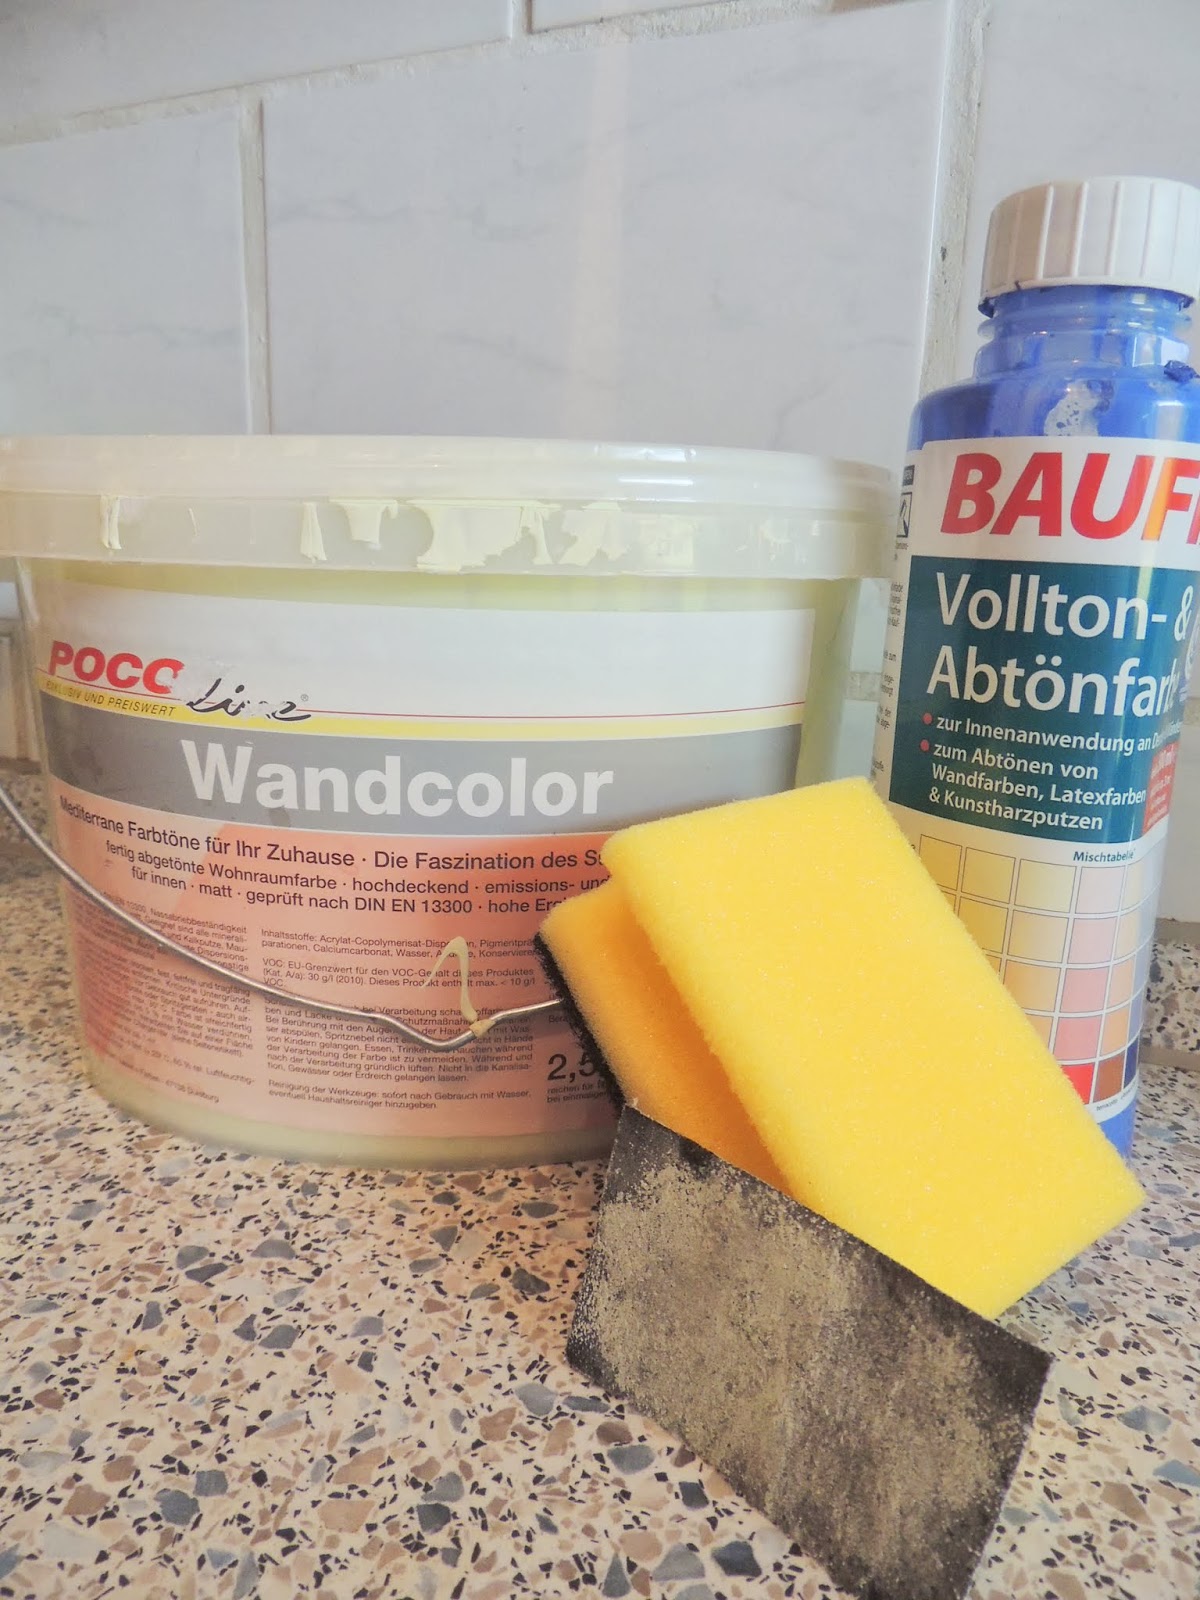
- Apple Green Paint ( on hand, bought for the walls some three years back !)
- Toner ( also on hand, bought for a previous project cost a little over €2 )
- Sandpaper ( 0.69 cents ! )
- T- bolts ( found in hubbard's stash, on hand )
- A faux leather belt ( scored for a mere € 1.99 on sale )
- Clear Lack Spray ( was also bought earlier, used for many other projects, was around €2 )
- Kitchen Sponge ( already in the kitchen..a pack of three costs under €2 )
- Sideboard was dropped over by a friendly someone who did not need it anymore. Free delivery, I mean no body delivers even a pizza for free here in munich! Plus we have had it hidding behind a door for over 2 years now.
So I only spent a total of 2.68 euros on the spot for this project ! Why shoud'nt I be proud!
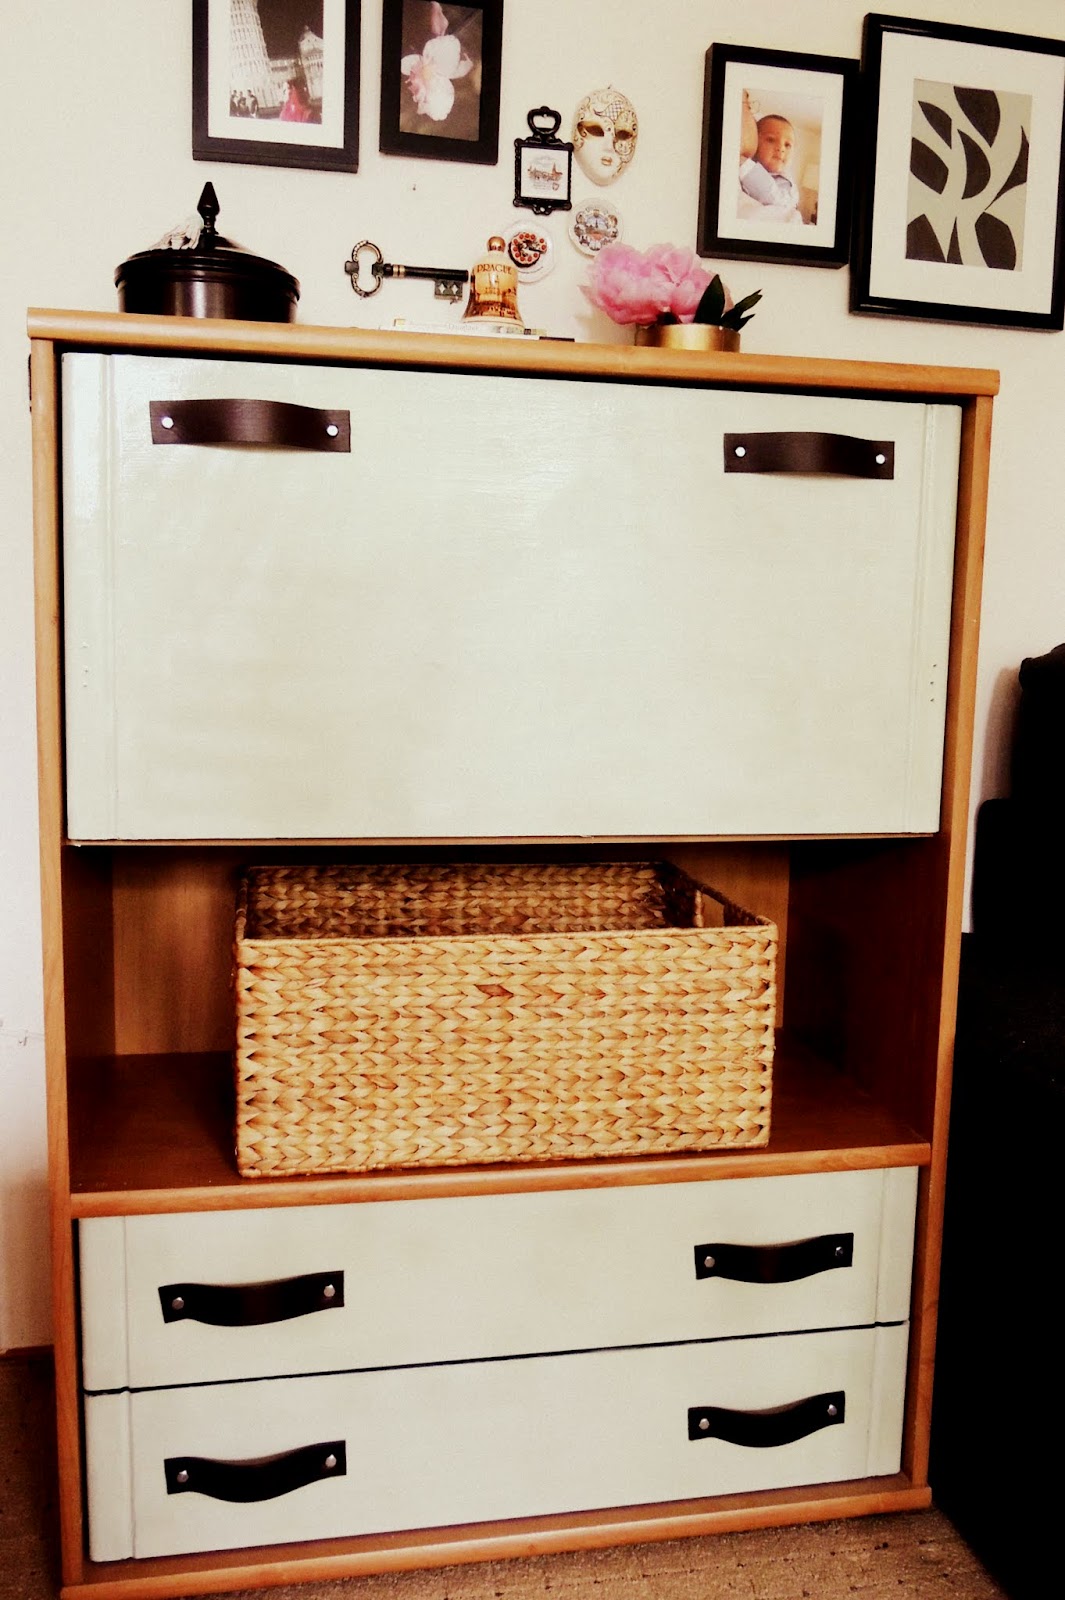
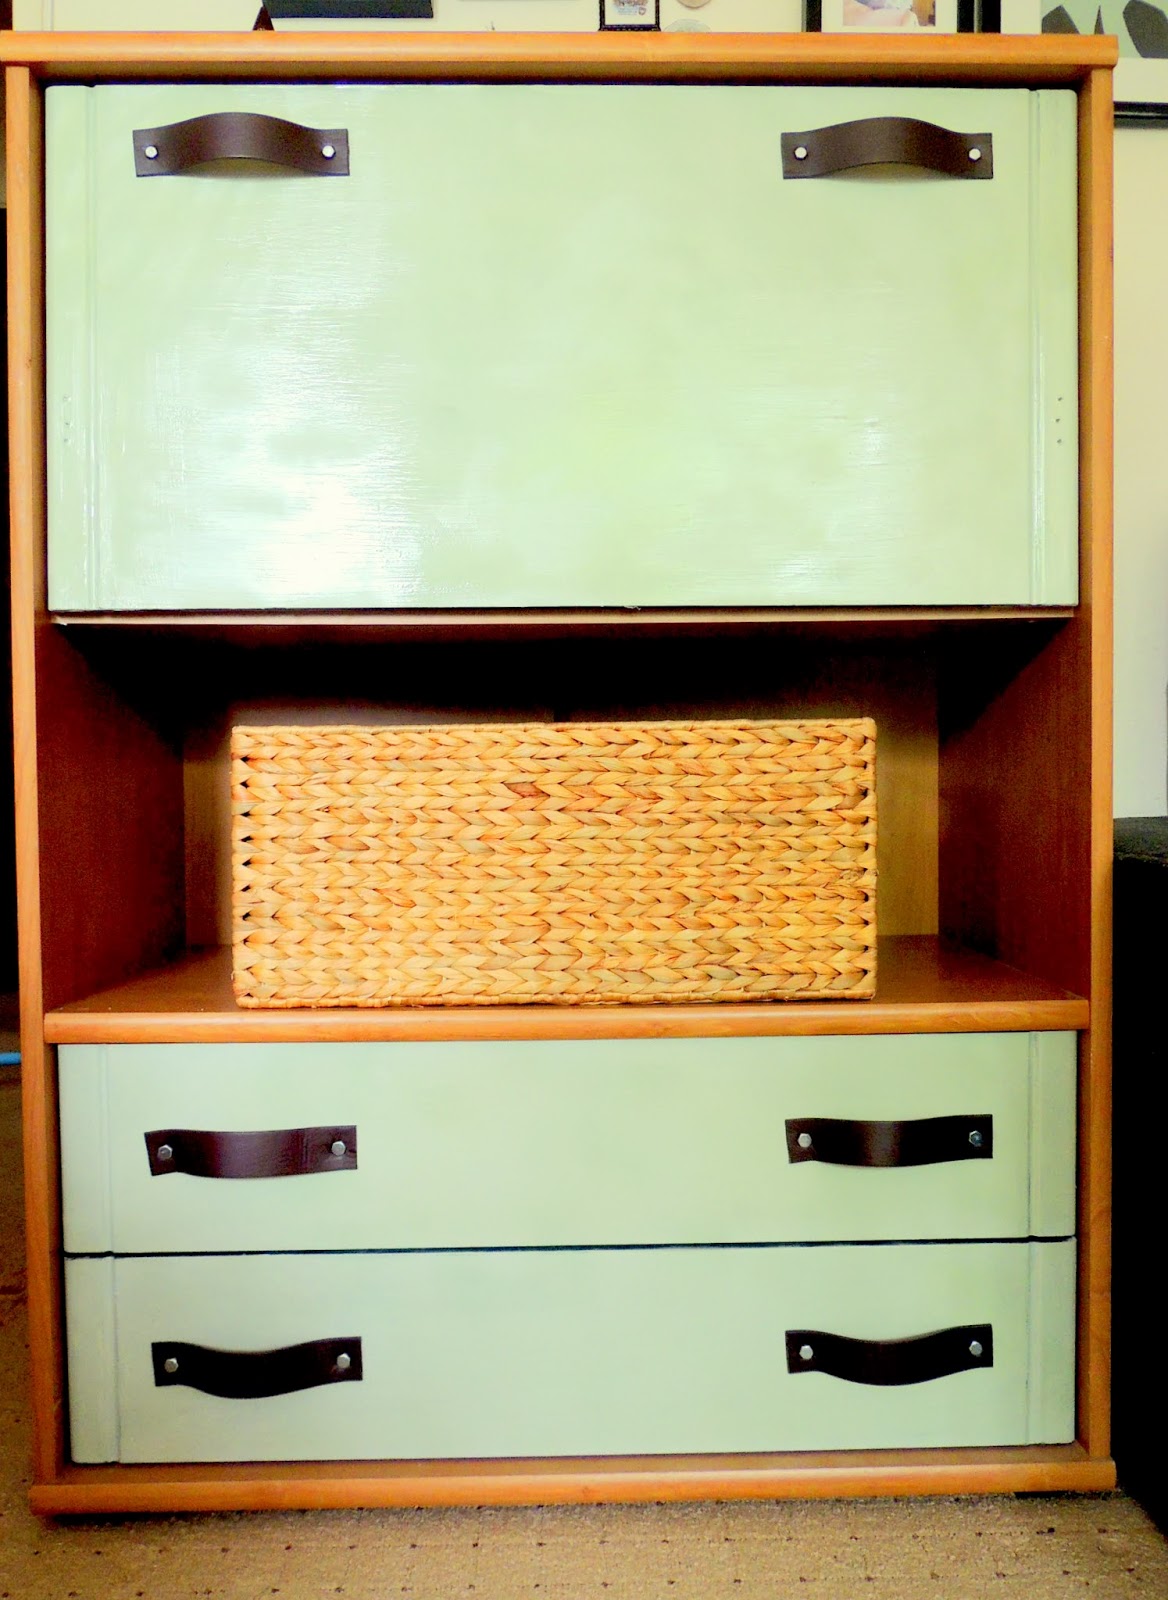
I decided to only paint the drawers and the pull out door so just in case it turned out horribly horrible I could just use the rest of it as an open book shelf.
( gotta have a plan B )
( gotta have a plan B )
I wanted a cool mint green..so I mixed one part blue with 6 parts green.
Sanded the black paint..not completely, but just to get the top finish off.
I did 4 coats of paint. The first one was what I used in place of a primer. ( it was thinned down paint )

I used the spongy side of the dish sponge to paint. It was a silly idea I know..but hey isn't it the same as what most of everyone is using these days, the sponge brushes? I don't recommend it but I sure do suggest it :/ makes sence? No.

I took advice of my fellow skilled bloggers and sanded between coats. Dusted and then patiently let the next coat dry.
My major mistake was to use a spray sealer at the end. It left blotchy marks which I could not undo, nevertheless I gave my self room for error coz this was my first attempt.
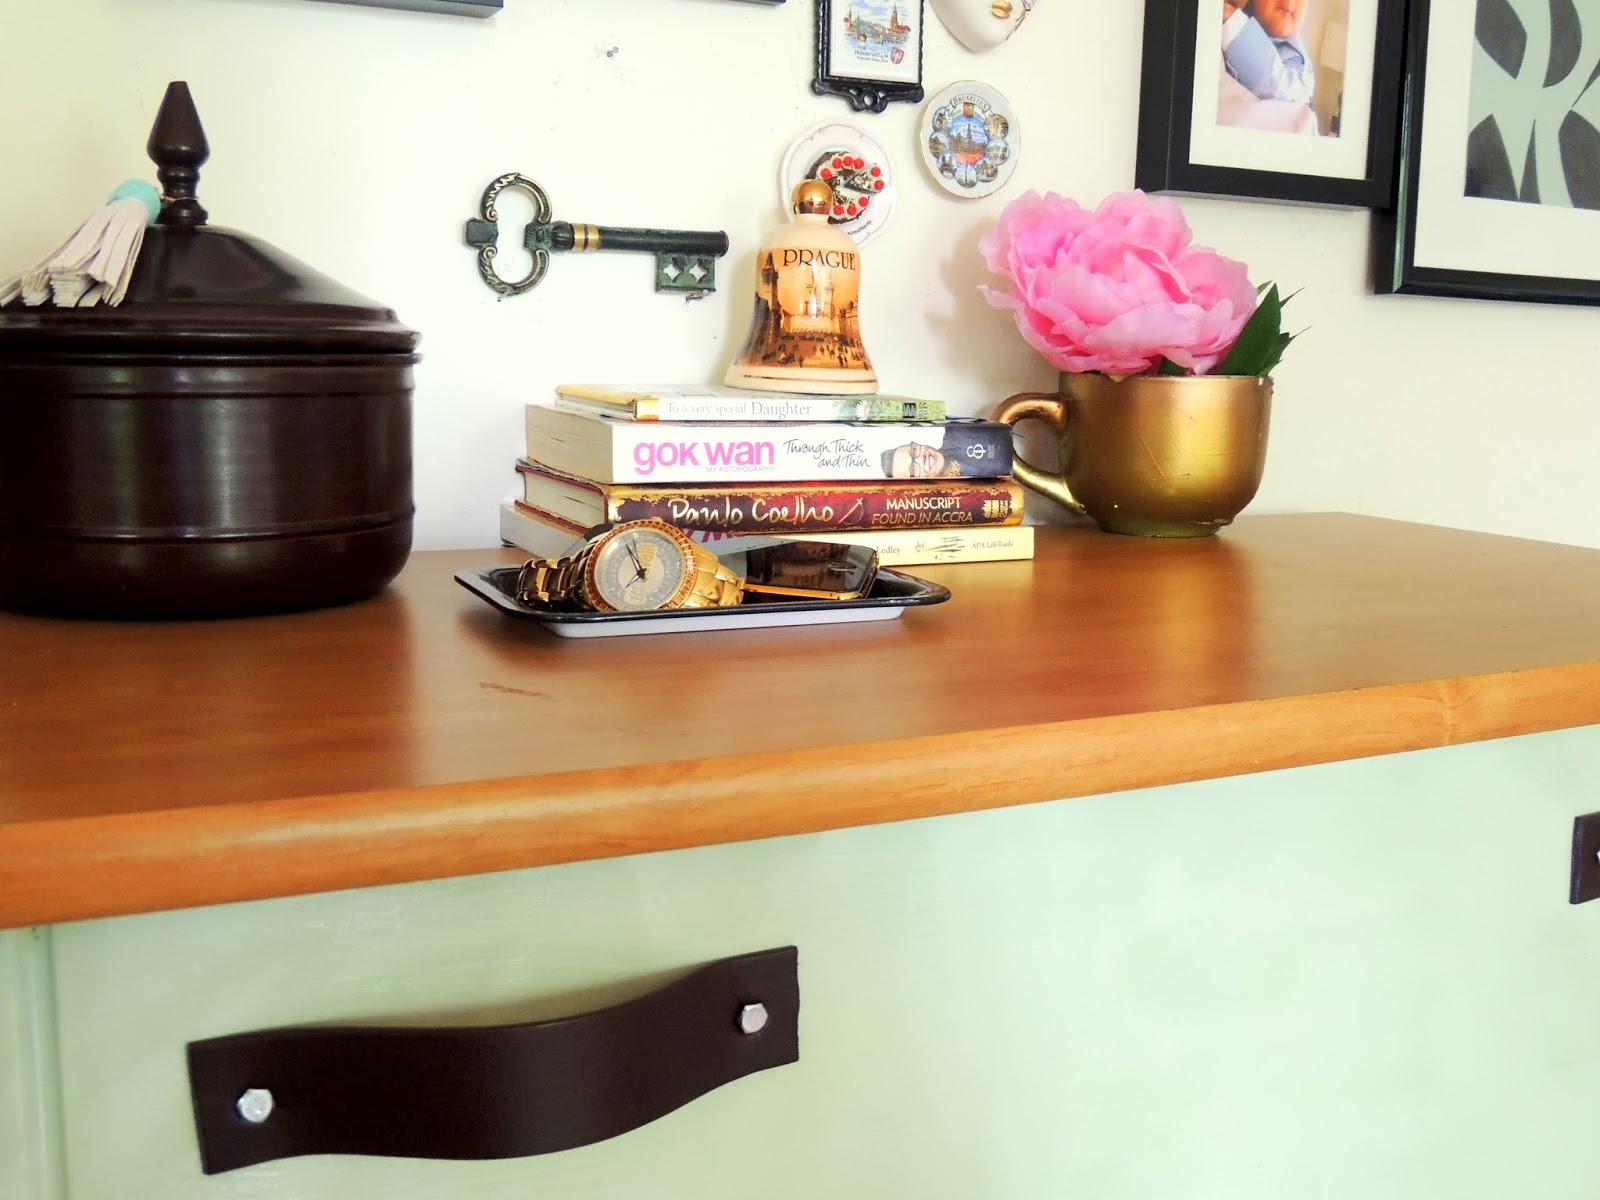
For the drawer pulls..I took a trip to the hardware store..only to find out that getting 6 new metallic pulls will set me back on the budget for something which was literally going to the heap anytime soon. The faux leather drawer pulls are a big hit on the bloggy Homes & Gardens and I love the industrial look that comes from the bolts. Plan set. Luckily I found a belt without holes in it.

From here on..MR. took over..drilled and added my super cool drawer pulls.


I did a quick dress up for my new beauty and 'shopped' around the home for some accents.
I got this piece sometime back in sale. I picked it up with plans of painting it white but for now I've decided to leave it as it it is..I only added a little tassel to add interest.
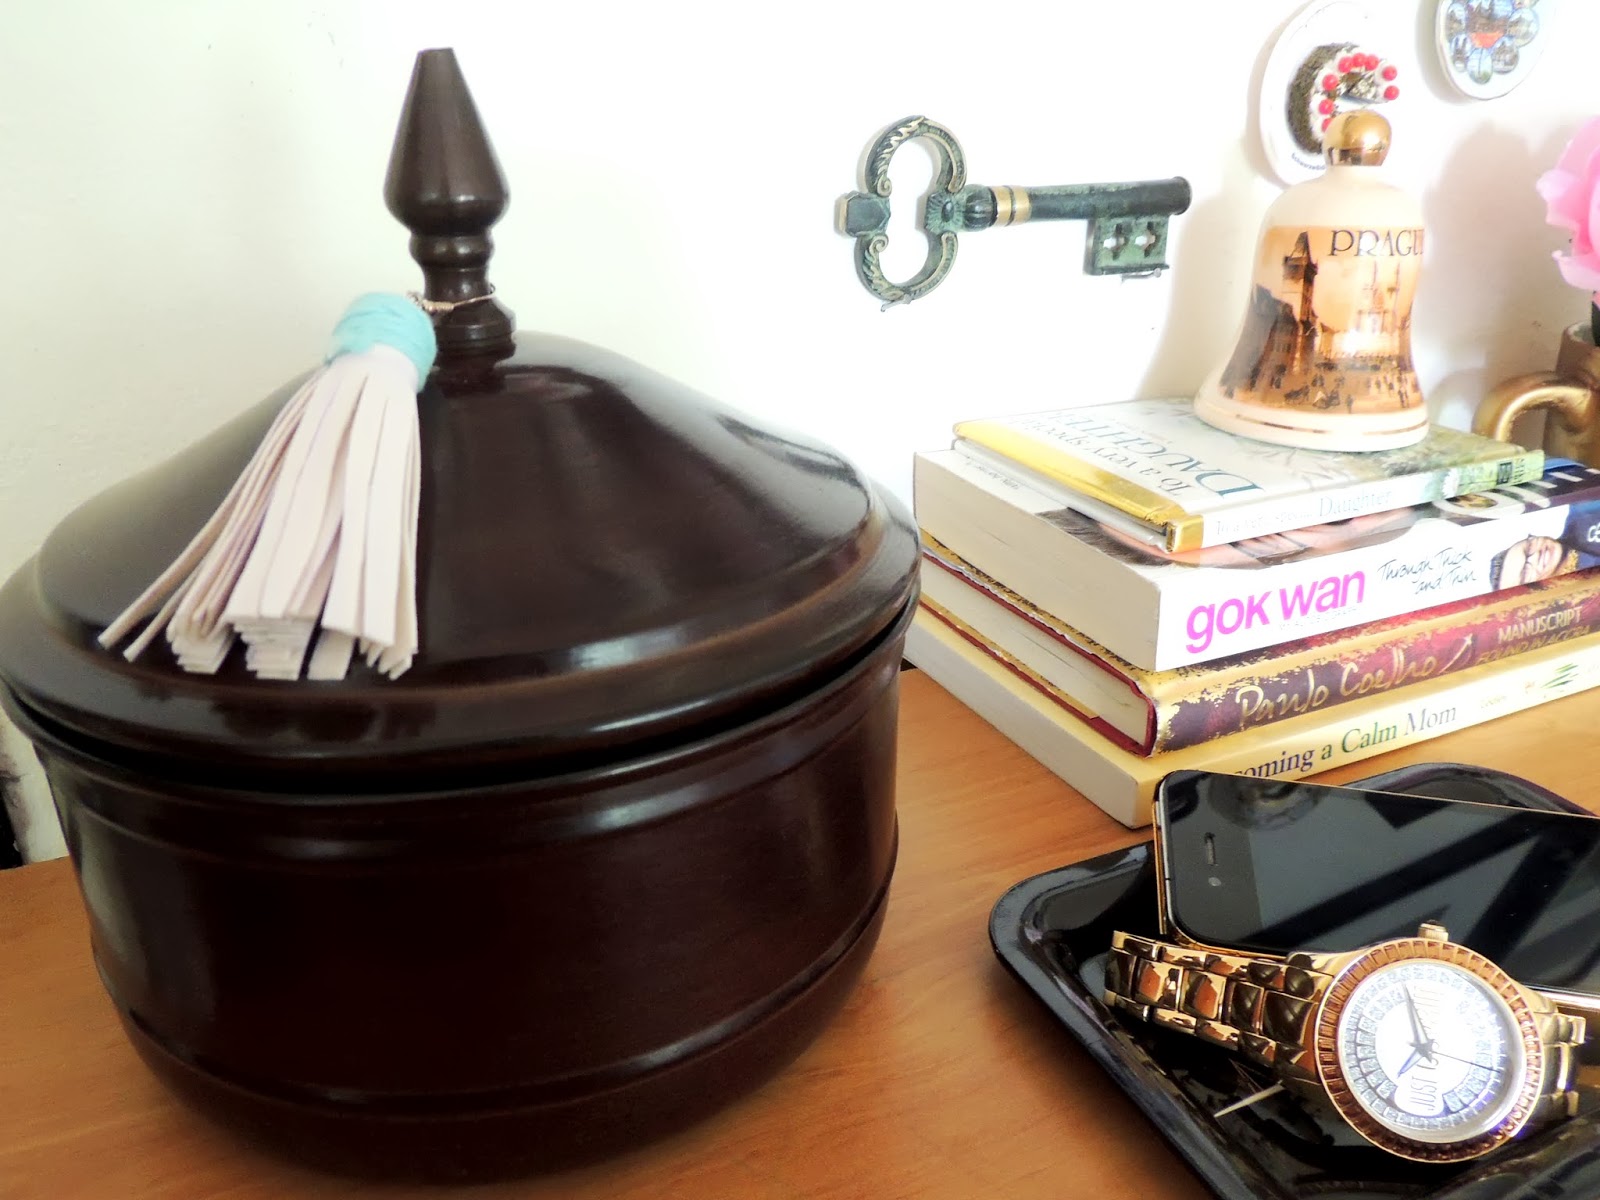
The tassel was made with faux leather..you can find the post about those earrings I made HERE

I love it all for now..lets see how long this love lasts..it seems like the sideboard is singing to me Lana Del Ray's
Will you still love me when I'm no longer young and beautiful
Wow Kinza.....you are so talented!....we can see that the artistic and creative flair certainly does run in the family...brilliant stuff...keep up the great work!....loving it!
ReplyDeleteI have the same problem with spray sealer, it gets blotchy and even discolored in places. Your sideboard overhaul looks terrific! The color is fun and the leather pulls look perfect on it. Great job!
ReplyDeleteThank you for visiting my page and leaving a comment. :) Thanks for sharing that bit about the spray I would have kept on second guessing myself. Following you:)
Delete