I love to pin sewing ideas..like this drawing caddy that I saw and wanted to make. It seemed all straight lines and easy peasy japanesey..until I tried. My thread broke at least half a million times, my son wanted all the crayons and my husband was worried about the neighbours getting disturbed because of the humming noise of the sewing machine late in the evening. (German neighbourhood laws are practised religiously) somebody with efficient sewing skills could whip it up in half an hour but it took me alot more.
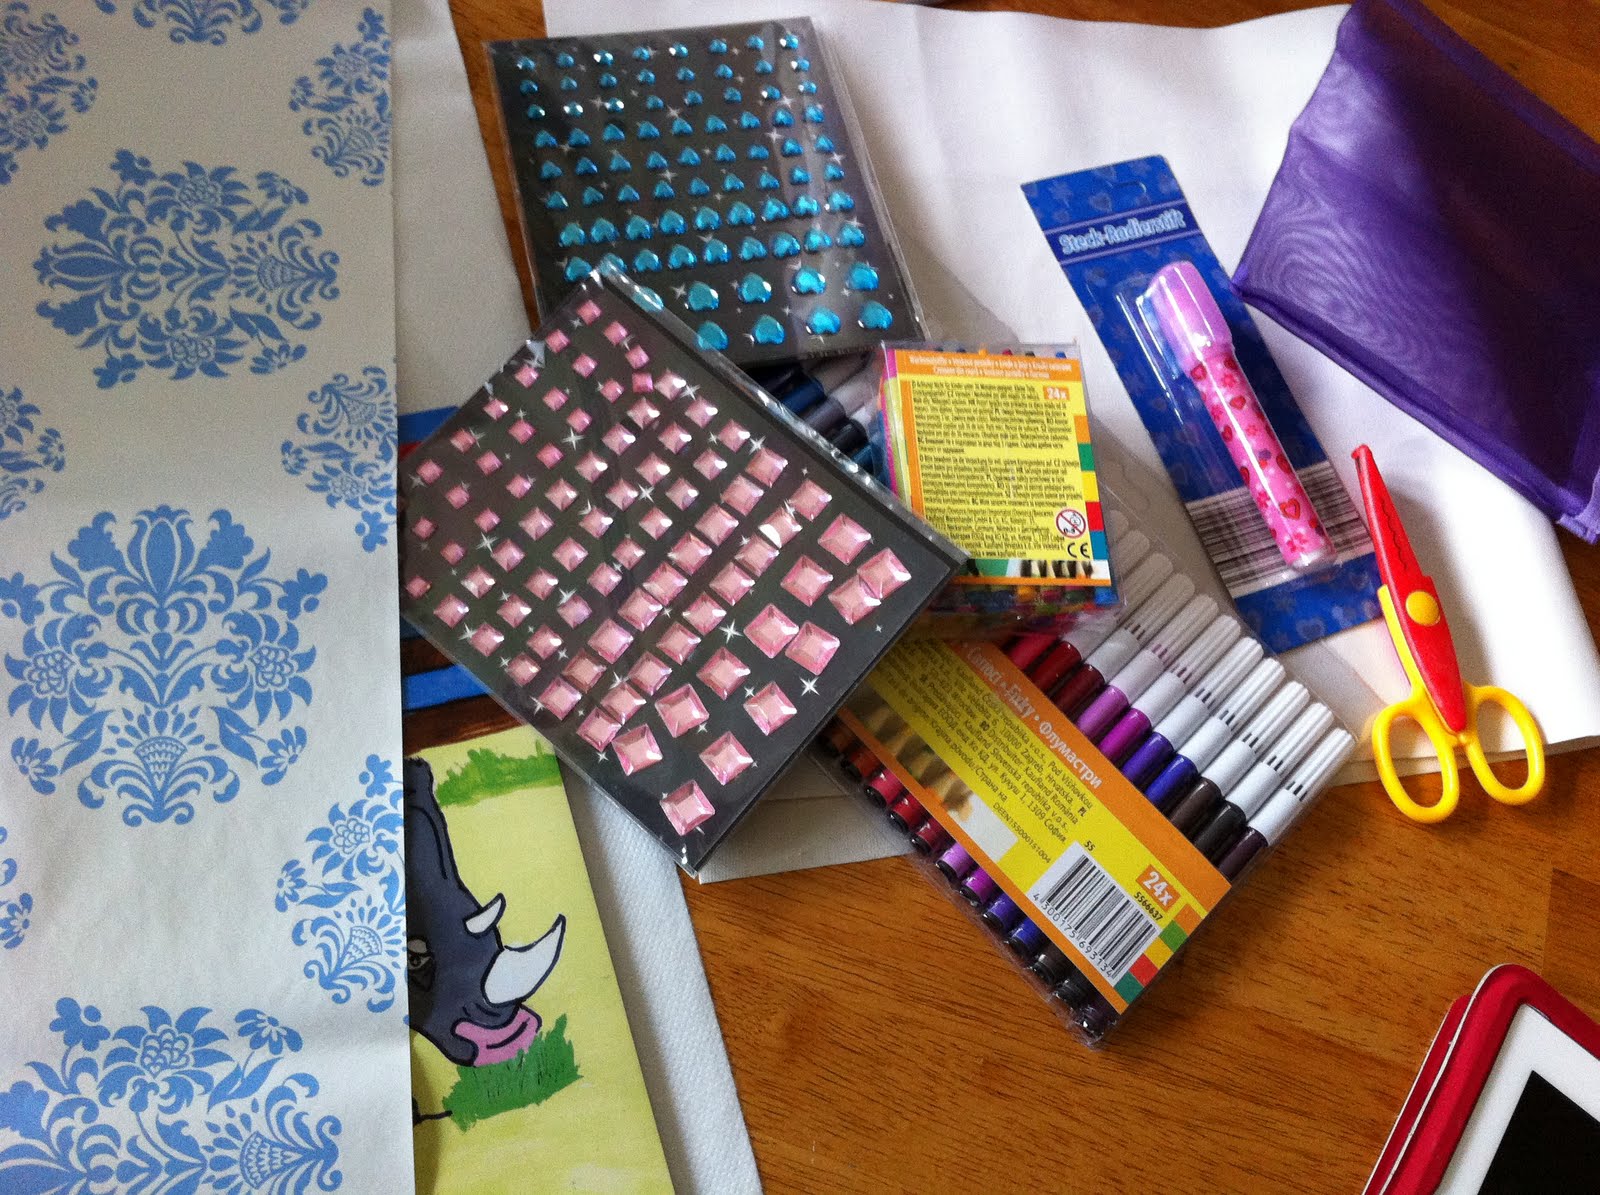
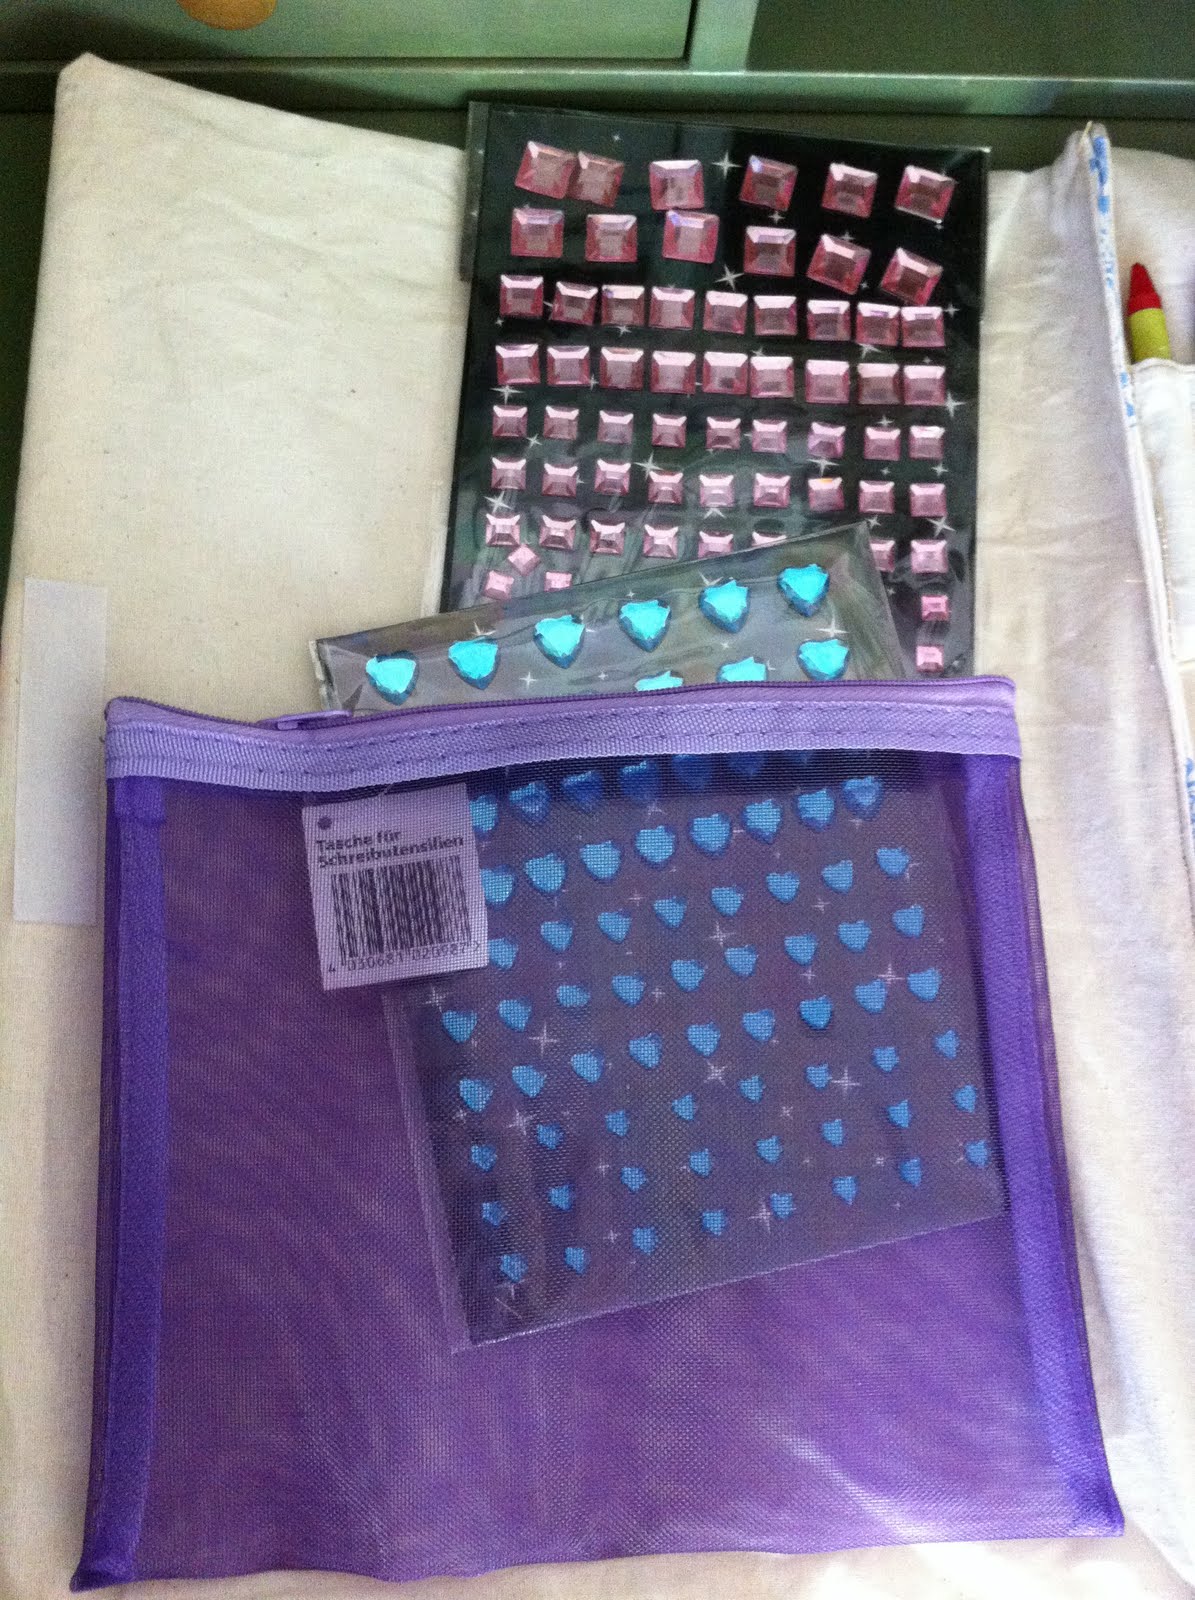
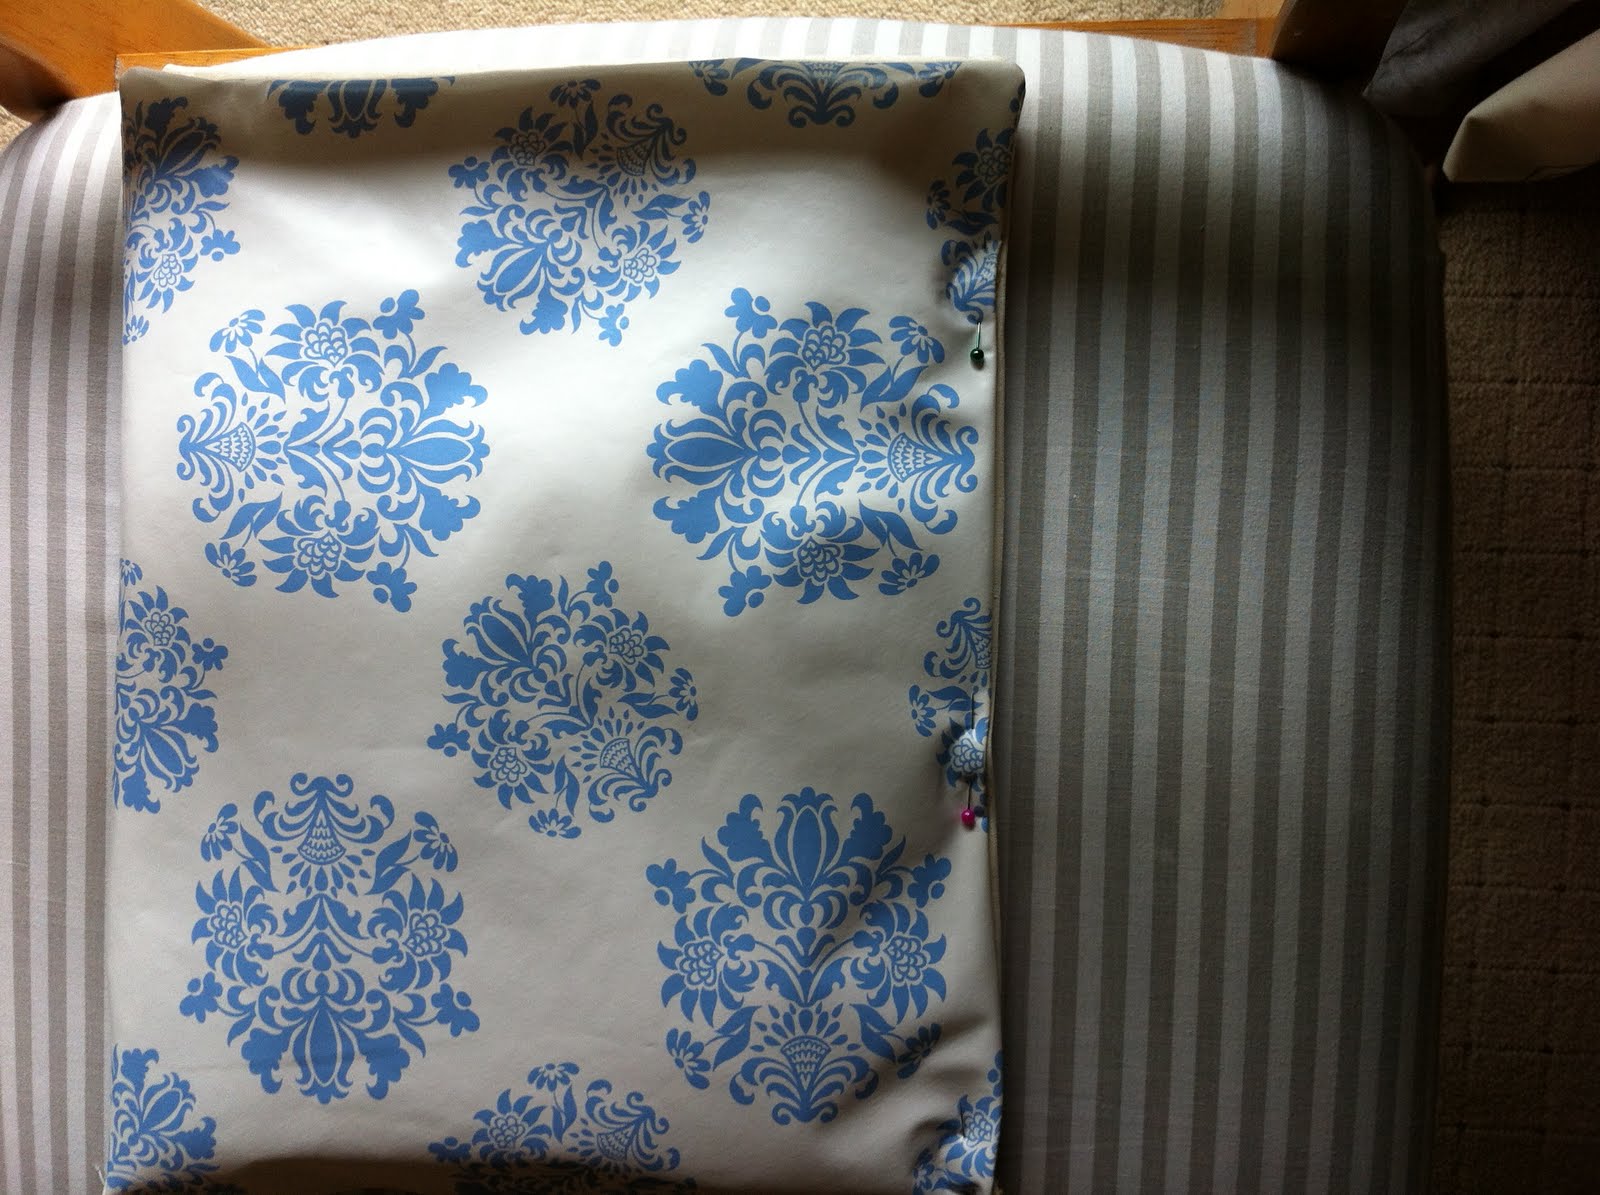
I gathered my supplies. I made a short trip to the fabric shop (one lonely fabric shop in the area where I live) I chose vinyl sheet for the outer cover because the selection of girly prints there, were not very pleasing. Its a gift for a girl.
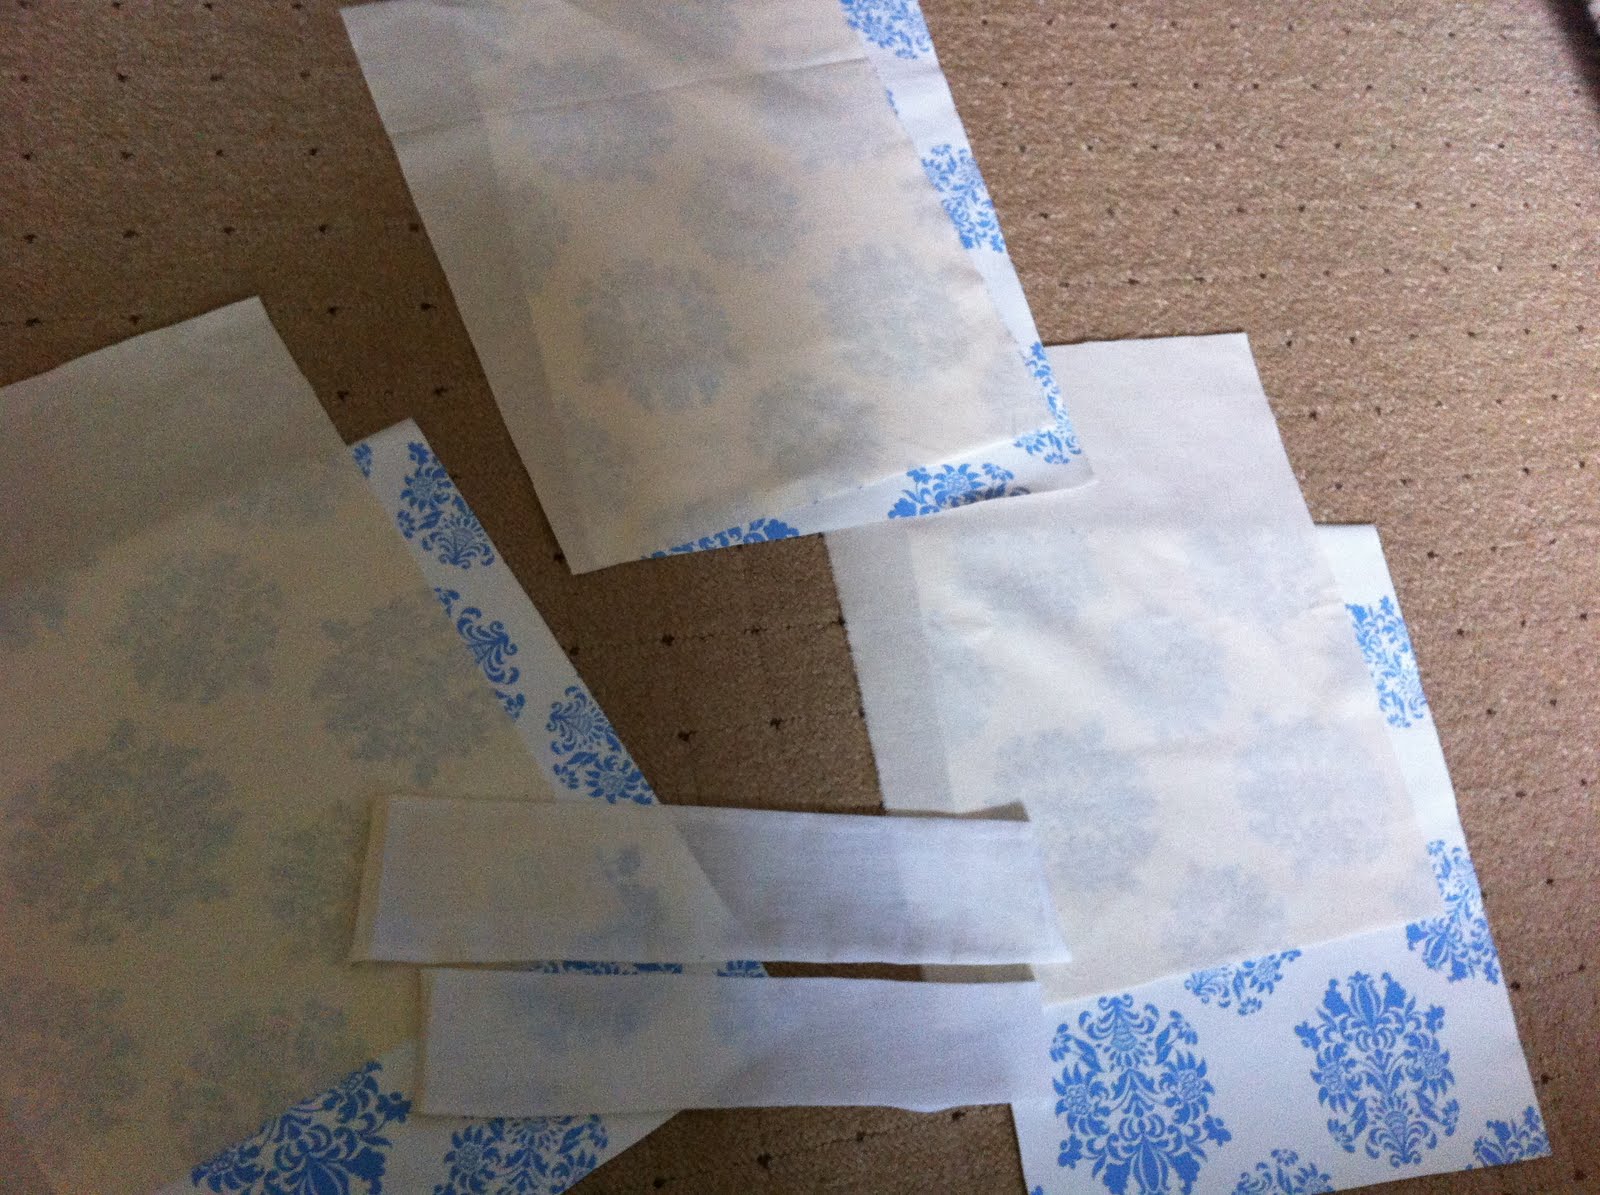
I measured the vinyl sheet by using a drawing pad as my size guide. I cut 3 pieces each of the vinyl and the lining fabric. Leaving 1 inch seam allowance all around.
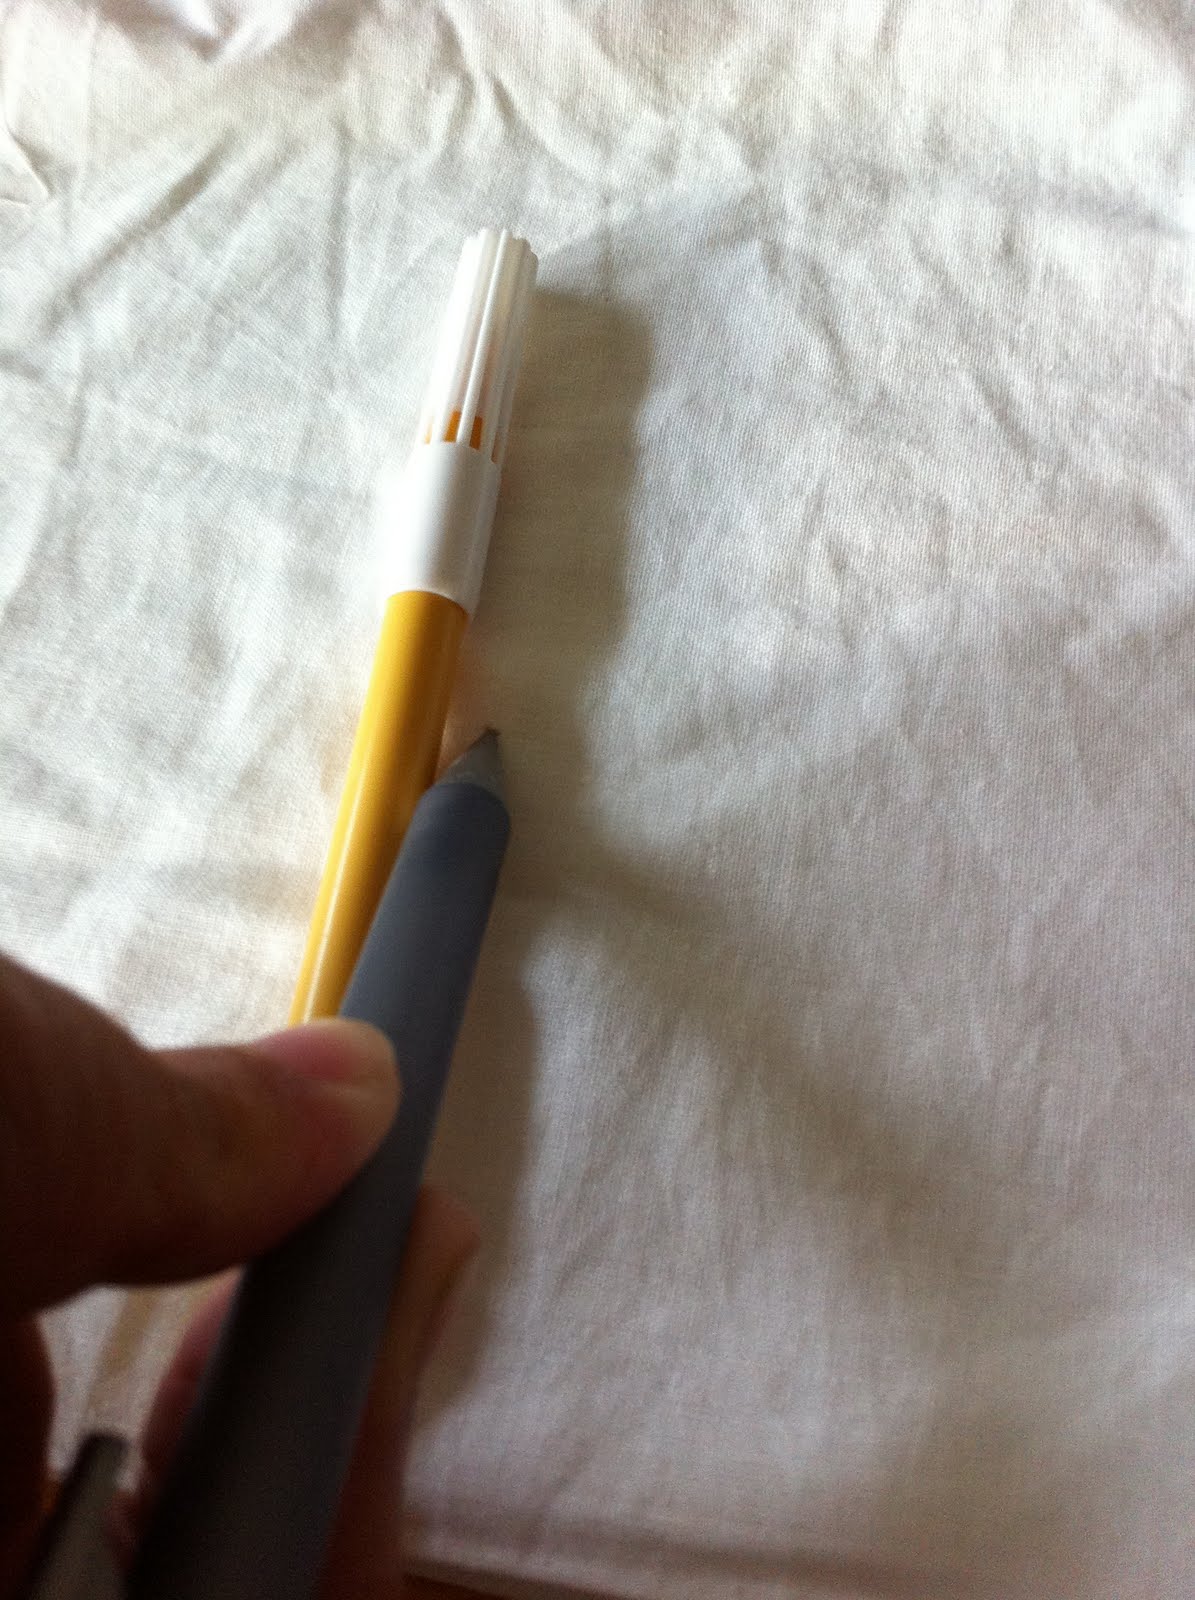
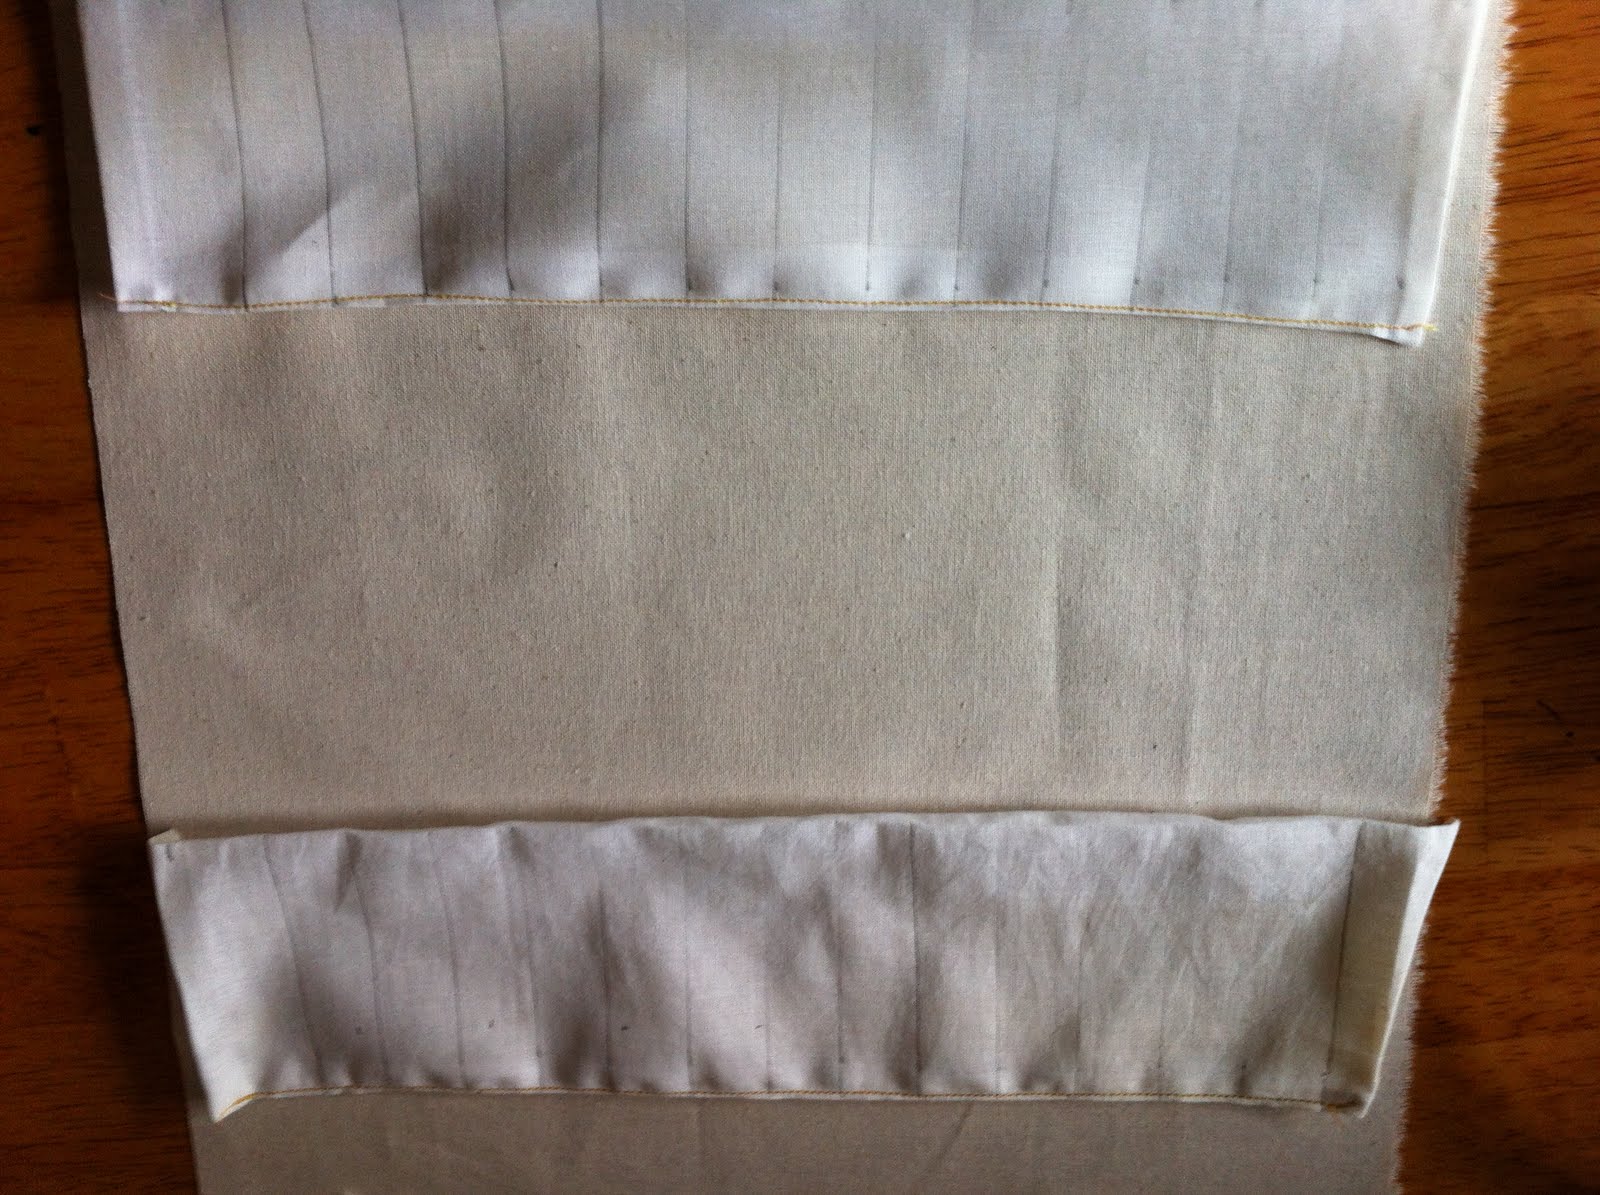
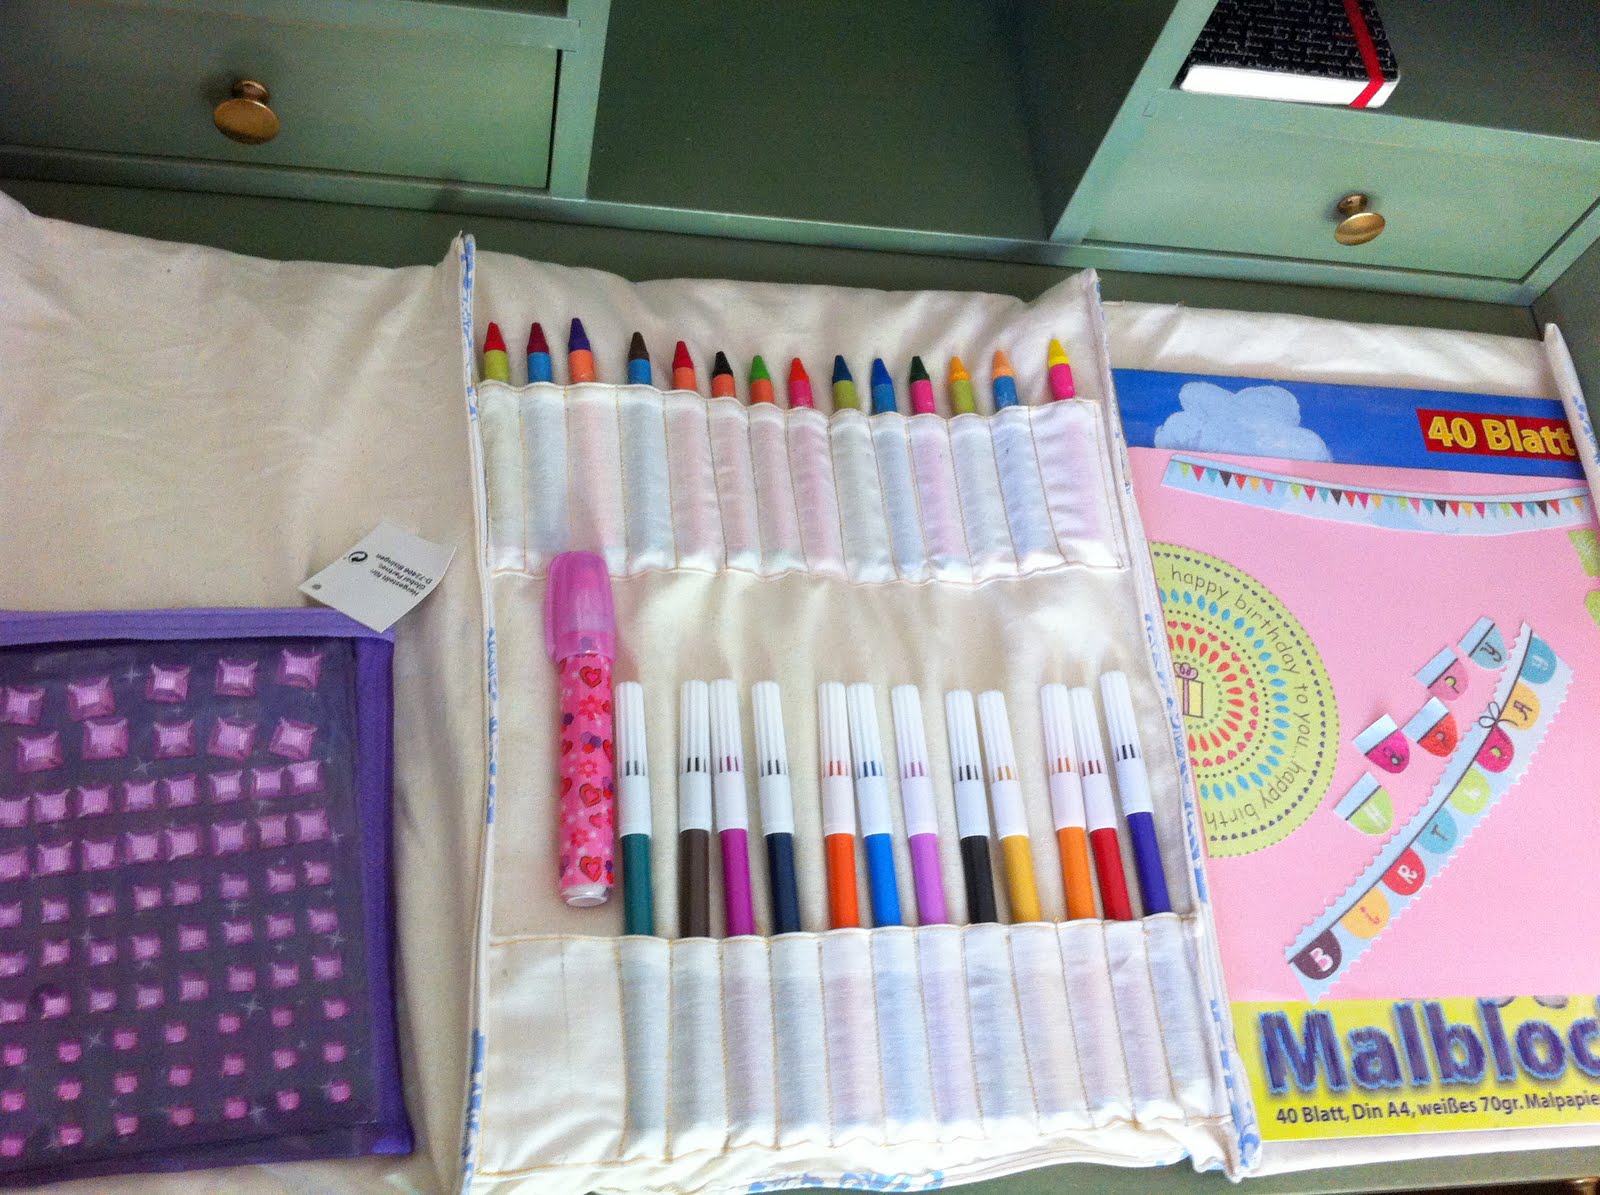
Next, I cut two pieces of plain white fabric to make the pockets for markers and crayons. I used a marker as a guide for size.
Ironed everything smooth ( except the vinyl, what a disaster that would've been!). I folded and ironed the edges of my pockets.
Started pinning the pockets on one of the 3 lining sheets of fabric.
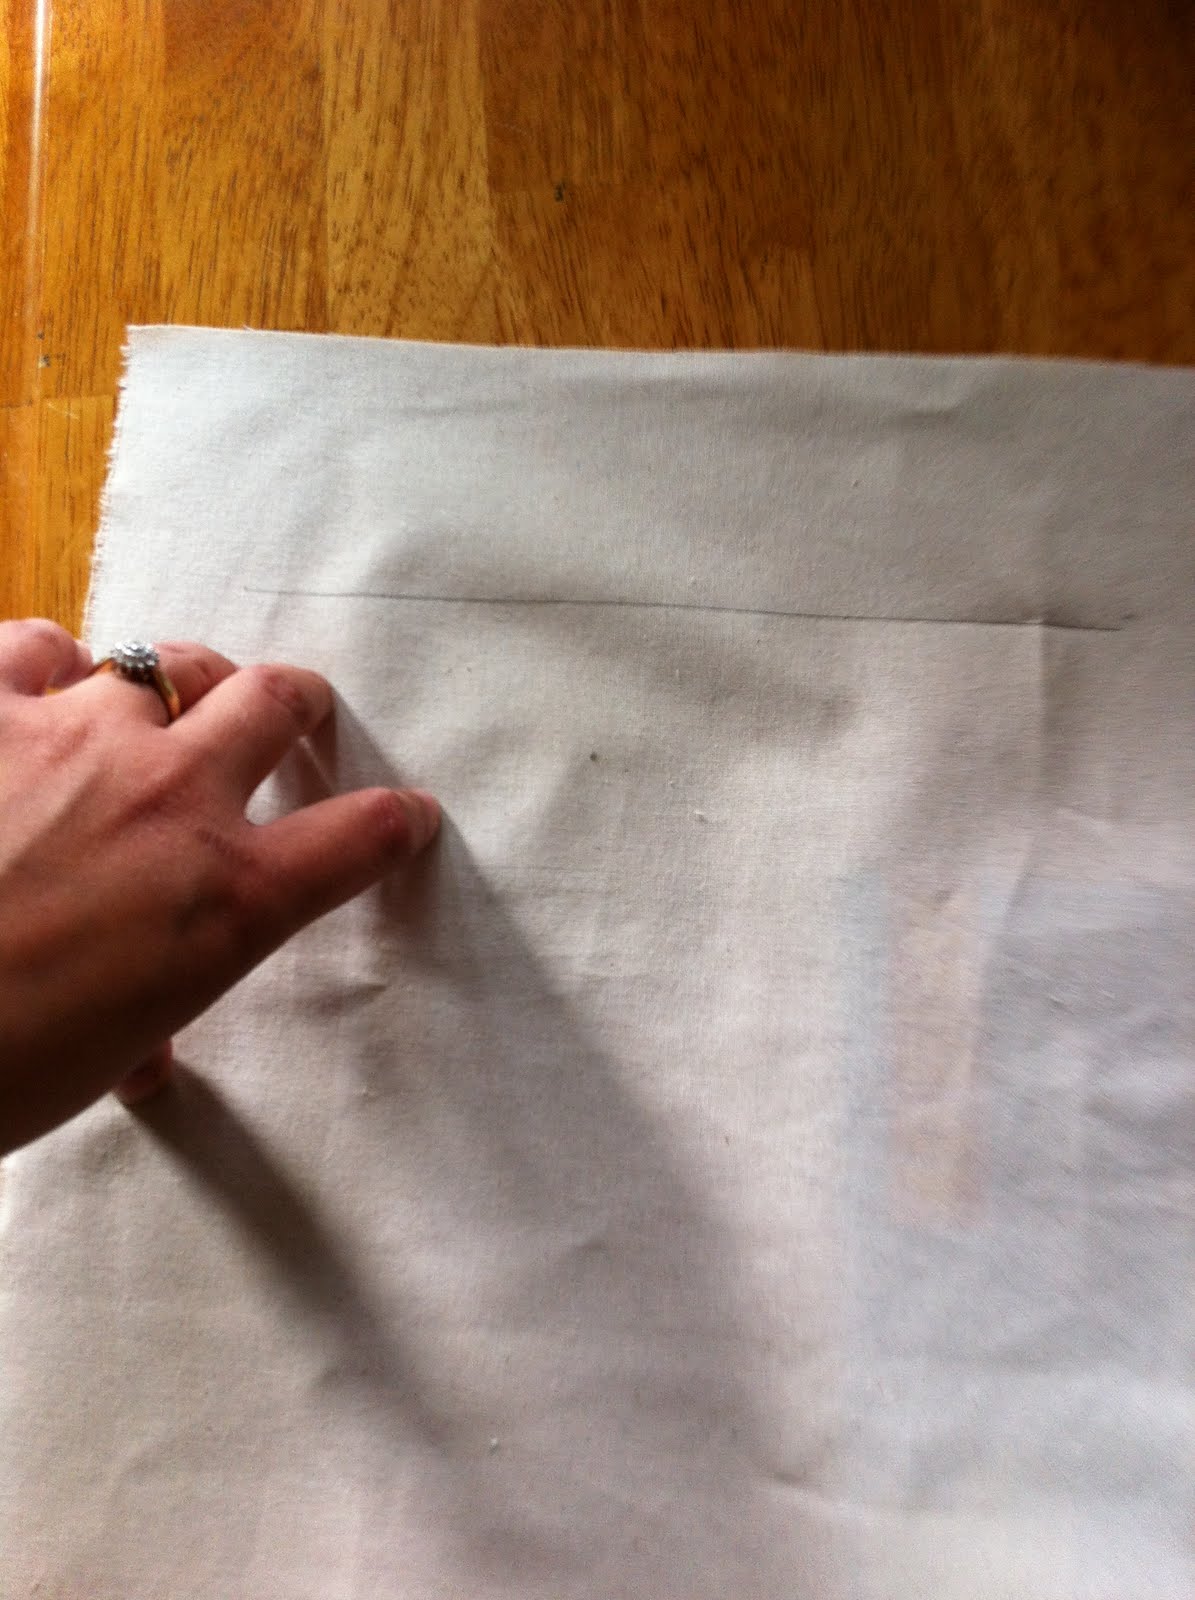
On the second piece I marked and cut a straight line in the fabric to insert the drawing pad.
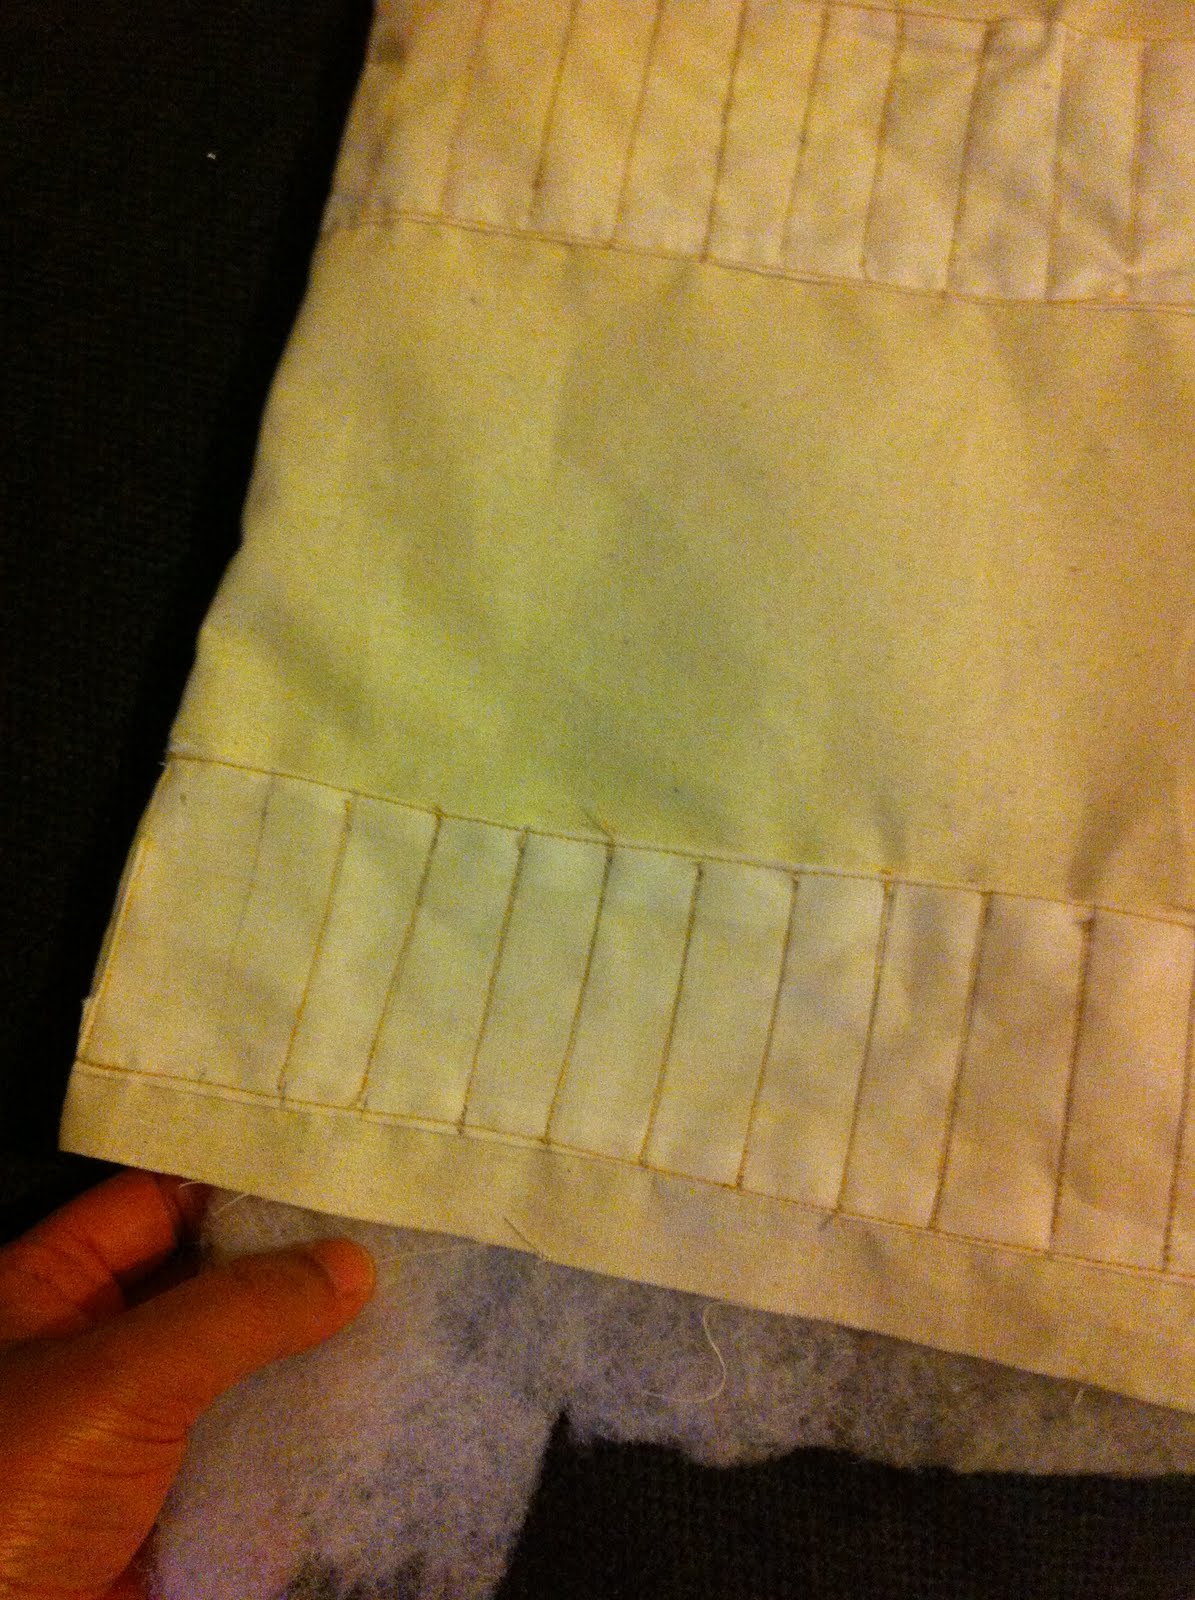
For the pockets, I first did a top stitch on the upper part of the pocket. Then stitched on 3 sides to attach it to the lining fabric. After that I marked sections for the crayons and markers 0.7 inches each, and sewed them.
Sewed the pinned pieces onto the lining. Next, I placed the outer sheets and the lining sheets right sides together and pinned. Sew the edges leaving space to turn them inside out. I inserted batting inside the piece with the pockets on it to give it form.
did it on the area where I had left the opening for turning over. It didn't look neat but hey I'm an amateur!
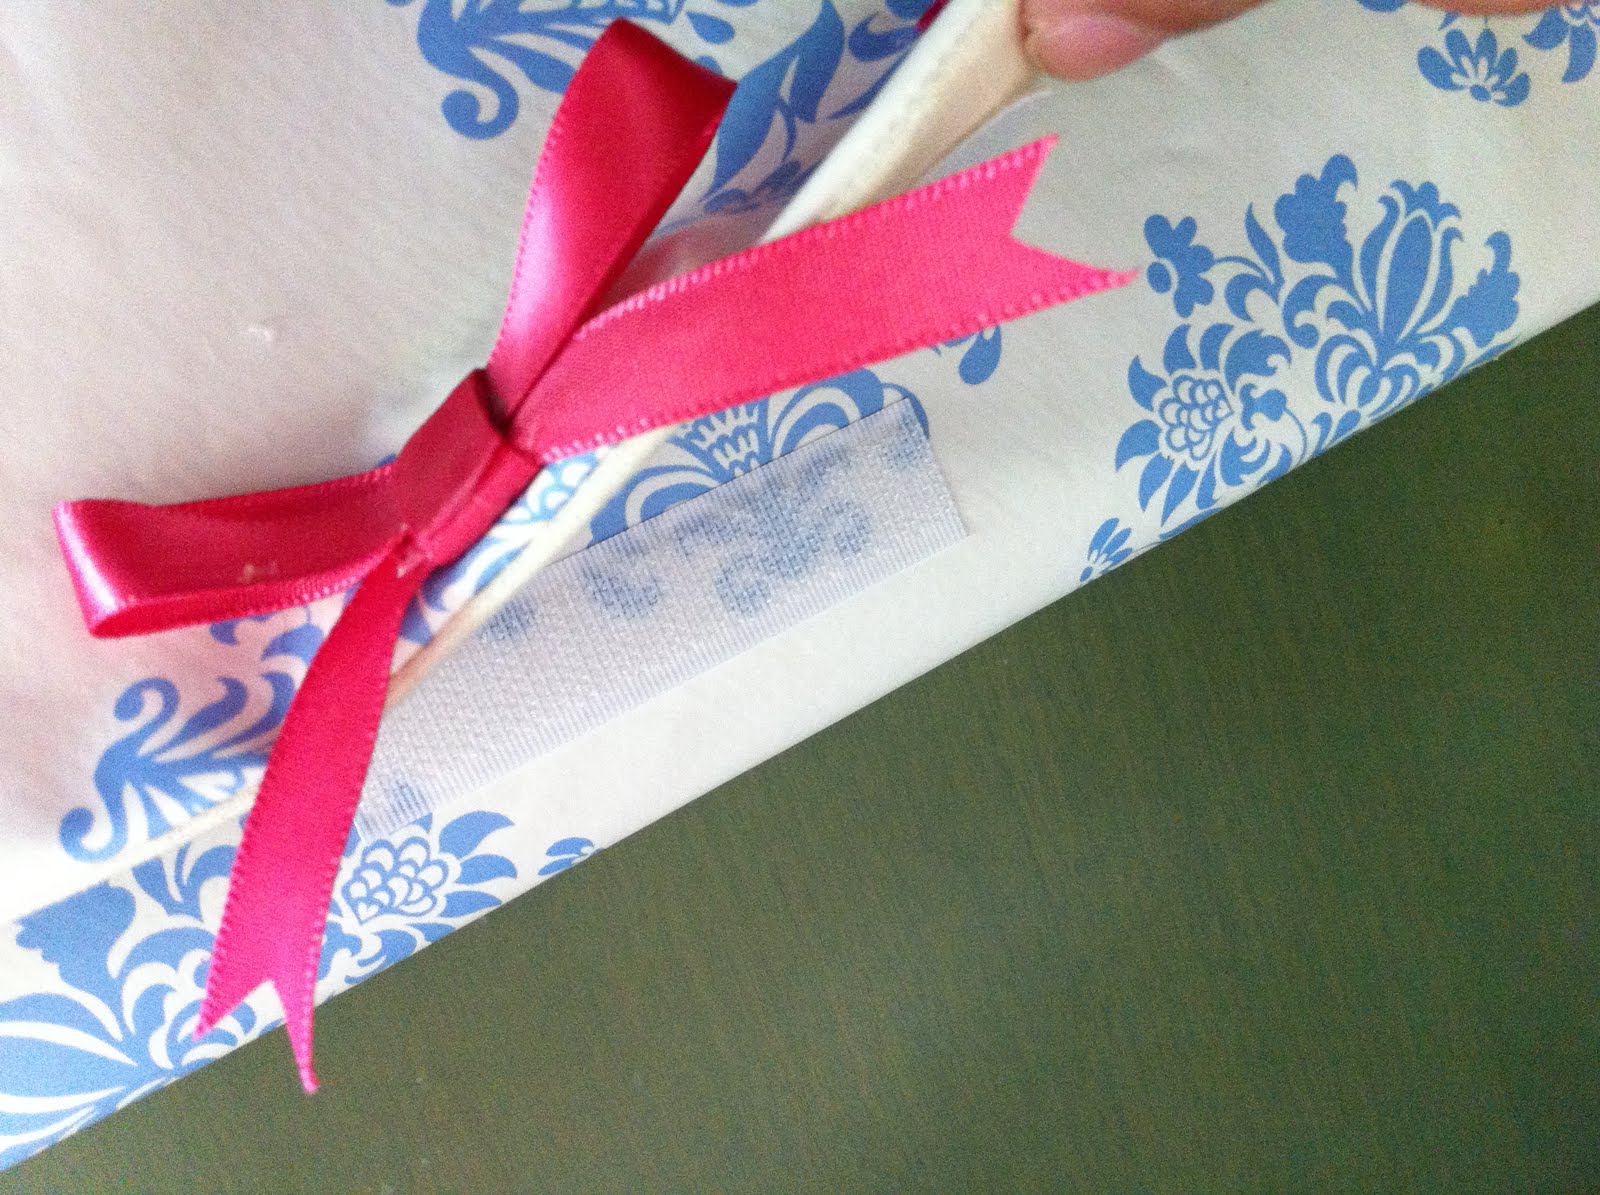
Added a self adhesive Velcro for the closure of the folded caddy.
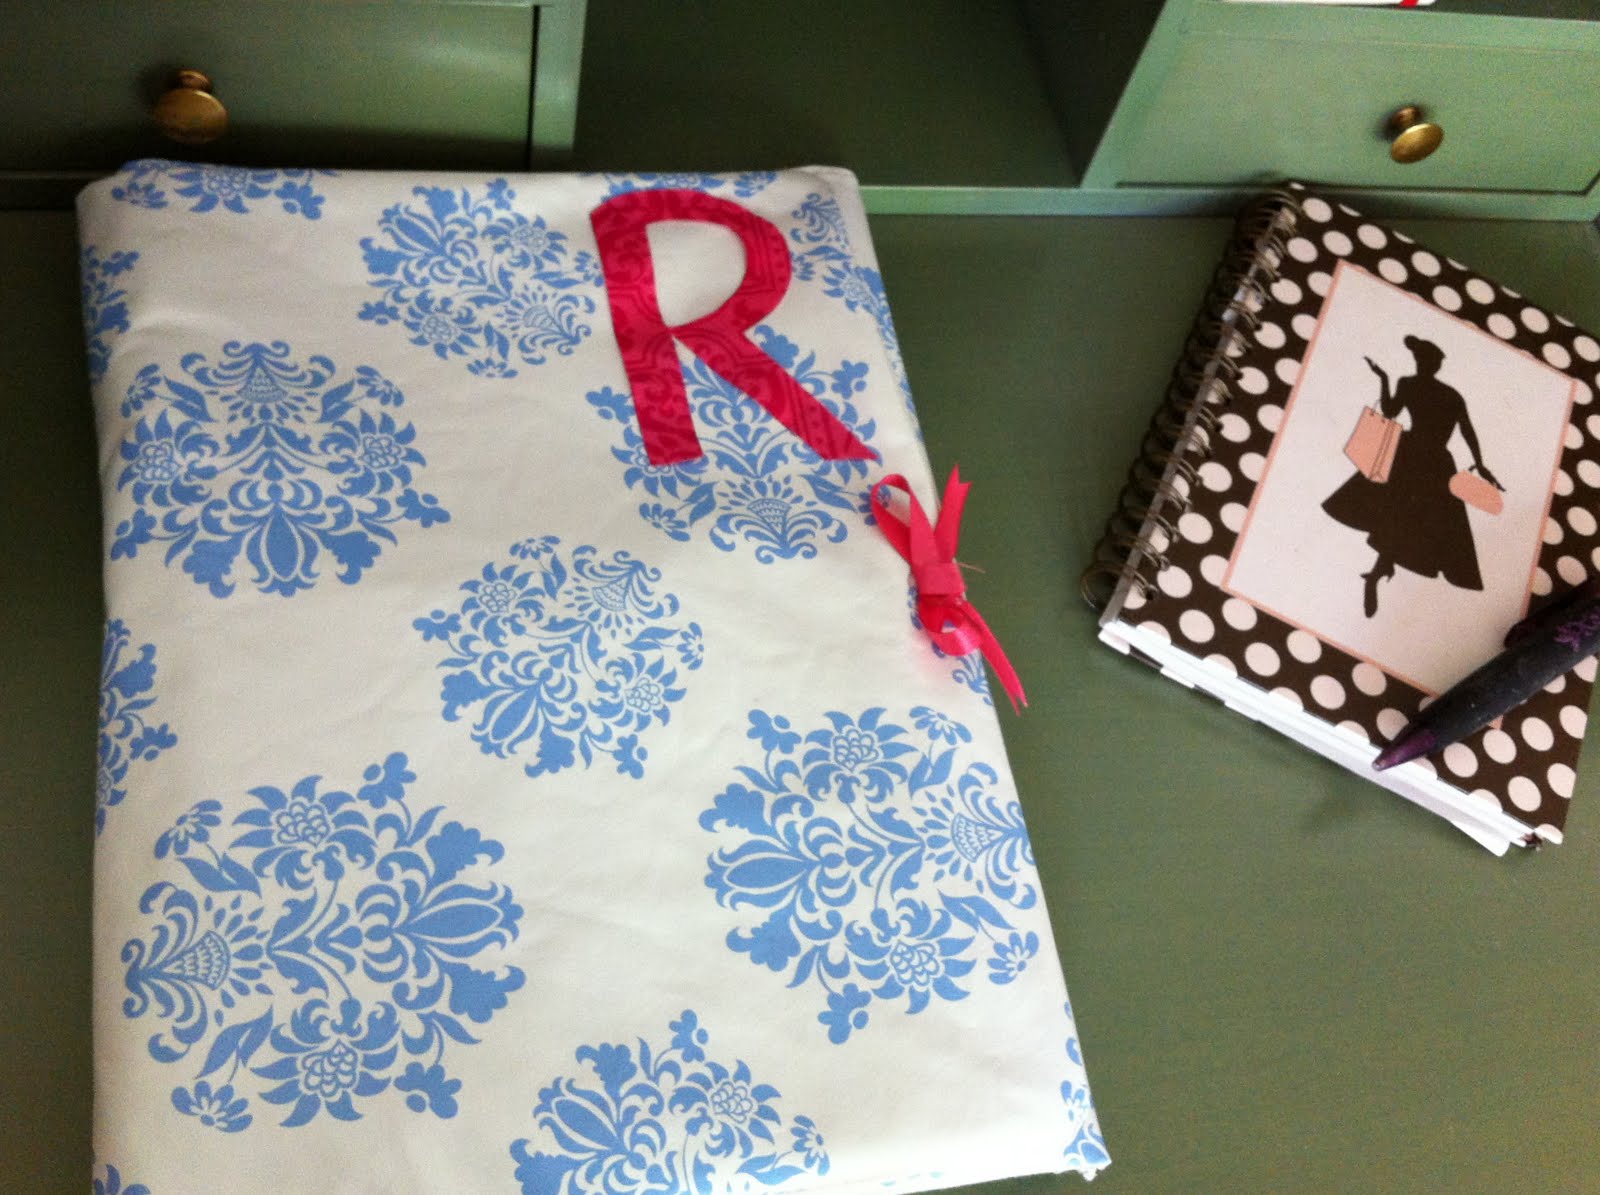
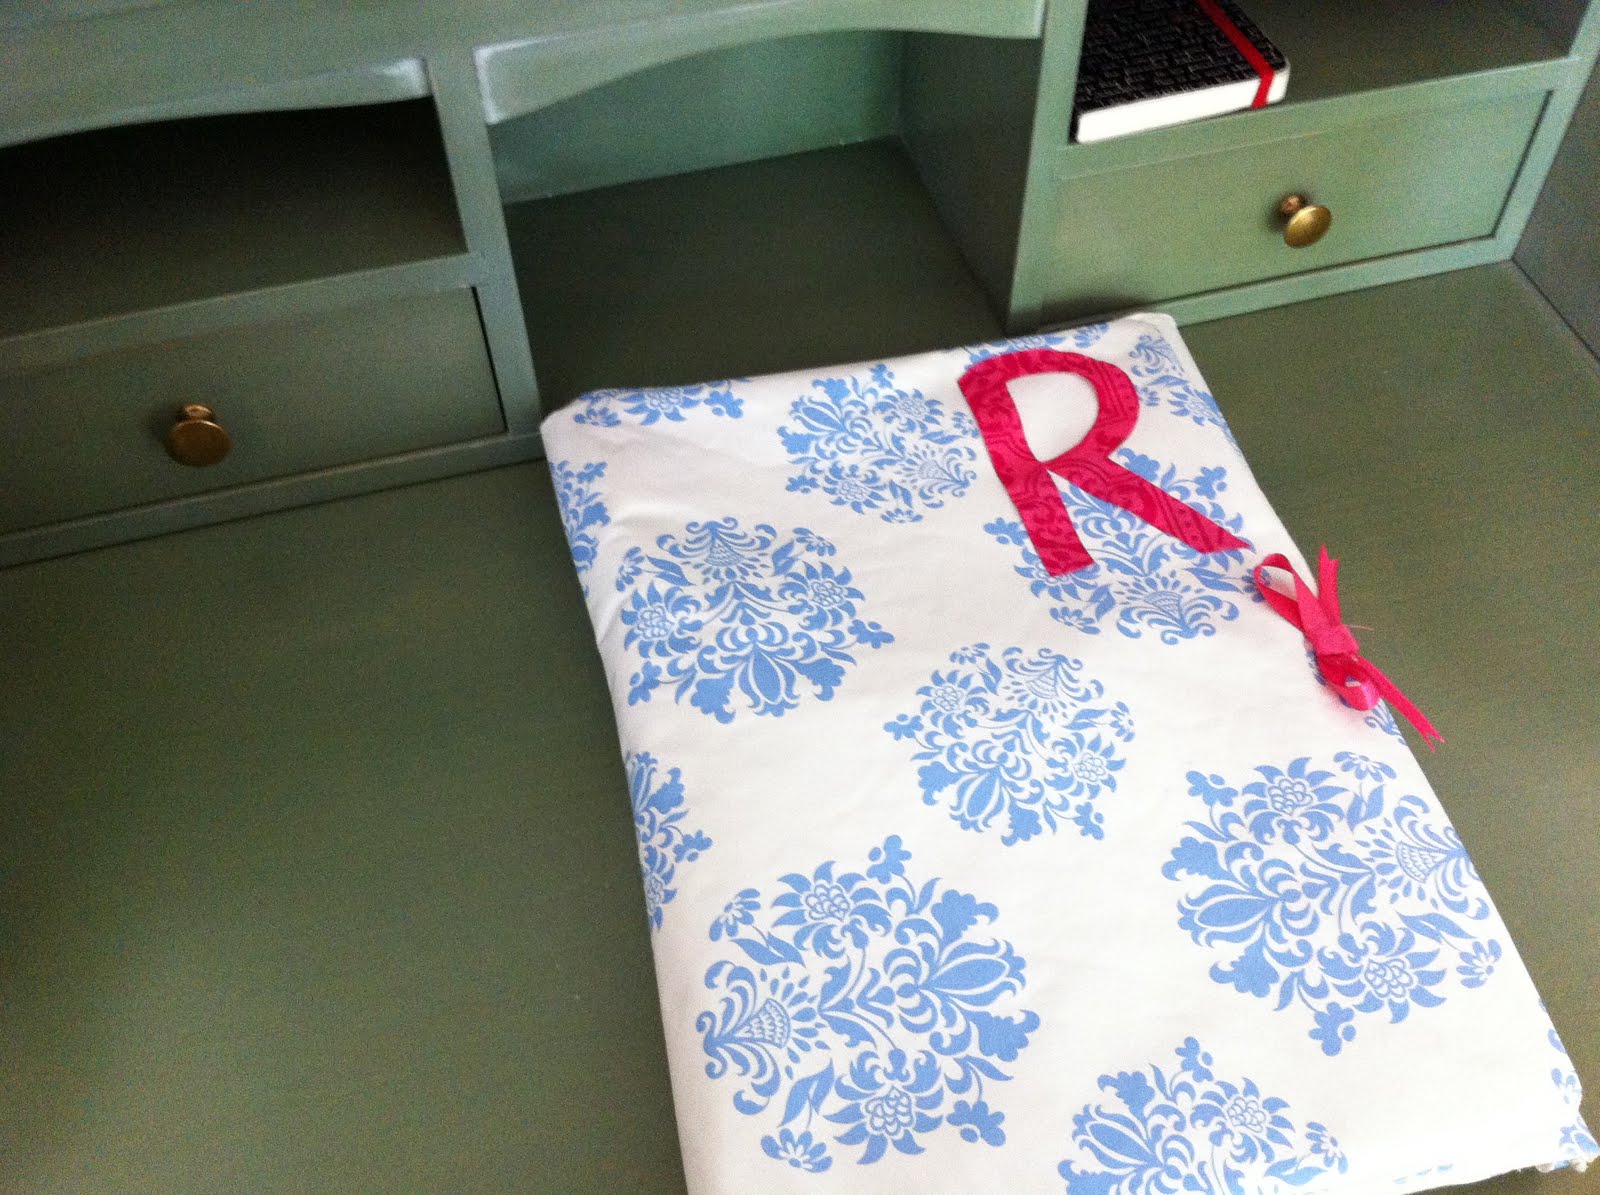
I finished it off by putting the girl's initial and a pink bow on the cover. To make the initial, I used fuse able paper to cut out the alphabet and glued it on the cover.
Super cute Kammy! I'll have to make these for my kiddos. :)
ReplyDeleteThanks for your super cute comment, it's made by me and I posted it on Kammy's blog!
ReplyDeleteKin